

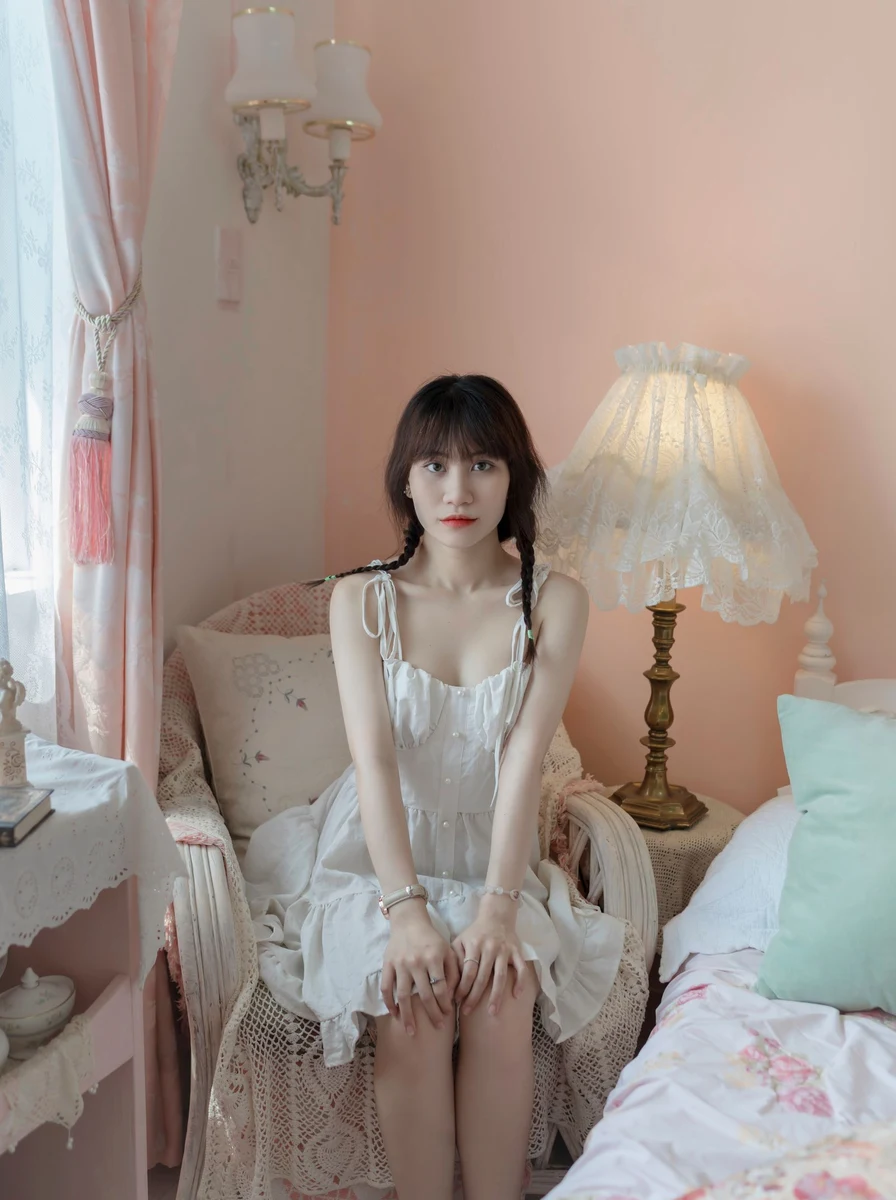
An aesthetic teen bedroom that looks Pinterest perfect isn’t about having the most expensive furniture — it’s about cohesion. The rooms that get saved thousands of times all share the same formula: a limited colour palette, layered textures, soft lighting, and one or two personal touches that make the space feel lived-in rather than staged. Anyone can build this look, whatever the starting point.
The secret is thinking like a photographer. Every corner should have something worth capturing: a styled bed, a cosy reading nook, a wall that tells a story. This guide breaks the Pinterest look into simple, repeatable steps so you can transform a plain bedroom into a space that looks straight out of a feed — and feels amazing to actually live in.

Pick a Cohesive Colour Palette First
Every Pinterest-perfect room starts with colour discipline. Choose two main colours and one accent, then repeat them everywhere — bedding, curtains, wall art, even storage boxes. The most saved teen rooms tend to use soft neutrals like cream and beige with one personality colour, such as sage green, dusty pink, or warm terracotta.
Building your palette:
● Pull three colours from one inspiration photo you love and stick to them ruthlessly.
● Keep large surfaces (walls, bedding, rug) neutral so the room feels calm in photos.
● Let the accent colour appear in at least three places so it looks intentional.
● Avoid introducing a random fourth colour through packaging or clutter — decant or hide it.

Layer the Bed Like a Stylist
The bed is the hero of every aesthetic bedroom photo, so style it in layers. Start with simple sheets, add a duvet or comforter, then pile on a textured throw and an odd number of cushions in your palette. The magic is in mixing textures — linen, knit, velvet, faux fur — rather than matching everything perfectly.
Stylist layering tricks:
● Fold the duvet down a third of the way to show the sheet layer beneath.
● Drape the throw diagonally across one corner instead of folding it flat.
● Use cushions in three sizes: large sleeping pillows, medium squares, one small accent.
● Steam or iron the bedding before photos — wrinkles are the fastest way to kill the aesthetic.
Master Soft, Glowy Lighting
Harsh overhead lighting ruins the Pinterest mood instantly. The aesthetic look depends on warm, layered light: fairy lights, a salt lamp or paper lantern, and a small desk lamp with a warm bulb. Photograph the room in the evening with only these on and it will glow.
Lighting that photographs well:
● Drape fairy lights along a shelf or headboard, never in a tangled ball.
● Swap cool white bulbs for warm 2700K ones in every lamp.
● Add one statement light, like a rattan pendant or neon-style word sign.
● Use the overhead light only for cleaning — keep it off for everyday living.

Create a Gallery Wall With Personality
Blank walls are missed opportunities. A gallery wall of framed prints, postcards, and personal photos adds the personality that makes a room feel like yours. Keep frames in one or two finishes — all black, all wood, or all white — so the mix of art inside still looks curated rather than chaotic.
Gallery wall rules:
● Lay the arrangement on the floor first and photograph it before hanging anything.
● Start with the largest piece slightly off-centre, then build outward.
● Mix art prints with personal photos and one text-based print for balance.
● Keep two to three centimetres between frames for a tight, intentional grid.
Add Texture Everywhere
Aesthetic rooms feel rich because they layer texture, not colour. A chunky knit throw, a fluffy rug, linen curtains, woven baskets, and a velvet cushion together create depth that reads beautifully on camera. If your room looks flat in photos, the problem is almost always missing texture.
Easy texture wins:
● A high-pile or shaggy rug instantly softens hard floors.
● Woven seagrass baskets hide clutter while adding natural texture.
● Linen-look curtains filter light more dreamily than heavy drapes.
● One faux-fur throw on the bed or chair adds instant cosiness.

Style One Cosy Corner
Pinterest rooms always have a “moment” — a reading chair with a throw, a window seat with cushions, a vanity styled like a boutique. You don’t need a big room; one well-styled corner gives the whole space its personality and gives you a favourite spot to actually use.
Building your corner:
● Anchor it with one piece of furniture: a chair, floor cushion, or small bench.
● Add a light source at sitting height, like a small lamp or string lights.
● Include something living — a trailing pothos or small succulent.
● Keep a basket nearby for the book, headphones, or journal that live there.
Edit, Photograph, and Refine
The final step is the one most people skip: photograph the room and edit what the camera reveals. Phones exaggerate clutter and colour clashes your eyes forgive in person. Take photos, note what bothers you, fix one thing, and shoot again.
The refinement loop:
● Photograph in daylight first, then in evening lamplight — style for both.
● Remove one item from every surface; styled minimalism beats crowded shelves.
● Hide chargers, cables, and packaging — they never appear in Pinterest rooms.
● Repeat the process monthly; the best rooms evolve rather than being finished in a day.
Keep It Livable, Not Just Photogenic
A room that only works for photos will frustrate you within a week. Make sure the desk actually fits homework, the bed is comfortable to sleep in, and storage is easy to maintain. The most beautiful teen bedrooms are the ones where the aesthetic supports real life instead of fighting it.
Making beauty practical:
● Choose storage that looks good open — baskets, pretty boxes, matching hangers.
● Keep daily-use items in one styled tray so they look deliberate.
● Leave one surface completely clear; breathing room is part of the aesthetic.
● Build a five-minute nightly reset into your routine so the room stays photo-ready.