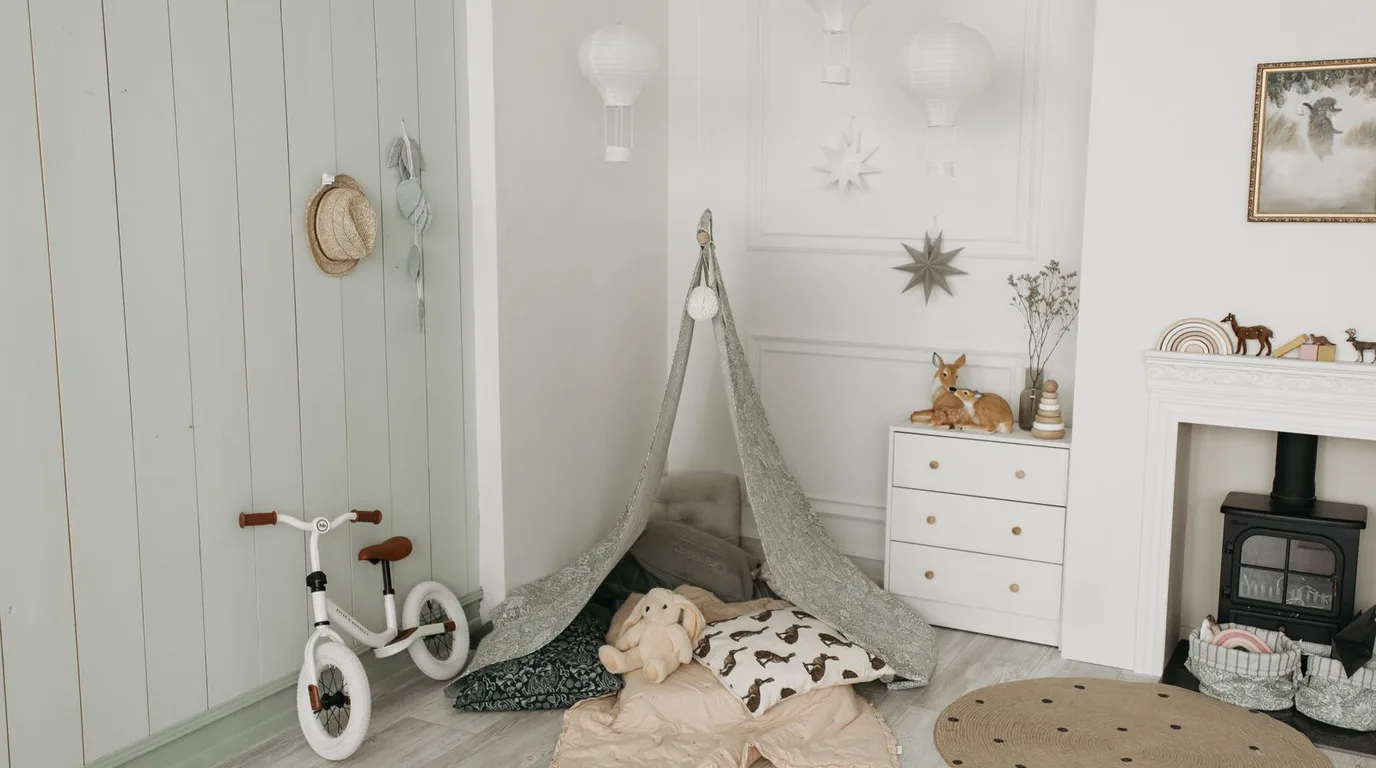
Blank nursery walls are full of potential. With a little creativity and a weekend afternoon, you can transform them into something special — and DIY wall decor has a charm that store-bought pieces can’t match. Every brushstroke and handmade garland carries your love into the room.
The best DIY nursery wall projects are simple, forgiving, and renter-friendly. Most need nothing more than painter’s tape, a brush or two, and supplies from a craft store — no workshop required. You don’t need artistic talent or expensive tools — just a few supplies, a free afternoon, and the willingness to try. Many of these ideas cost less than a single framed print.
In this guide, you’ll learn easy DIY nursery wall decor ideas — painted arches and shapes, peel-and-stick decals, handmade garlands, gallery walls, and personal touches that make the walls as special as the baby they’ll surround.

Paint an Arch or Simple Shapes
The painted arch is the DIY nursery classic for a reason: it’s stunning, simple, and nearly impossible to mess up. Mark your arch with painter’s tape or a pencil line, fill it in with a soft colour, and peel the tape for a crisp edge. Behind the crib, it creates a focal point that looks professionally designed.
No arch? Try simple shapes: a row of painted dots, a large circle, half-walls of colour (paint the bottom third of the wall), or colour-blocked rectangles. Use leftover paint or sample pots to keep costs near zero.
Easy paint projects:
● A single arch behind the crib in a muted tone — the biggest impact for the least effort.
● Polka dots in varying sizes, applied with a sponge or stencil.
● A half-painted wall: colour below, white above, divided by a clean tape line.
● Always use low-VOC or zero-VOC paint and ventilate well before baby arrives.
● FrogTape or similar delicate-surface tape gives the sharpest edges.
Apply Peel-and-Stick Wall Decals
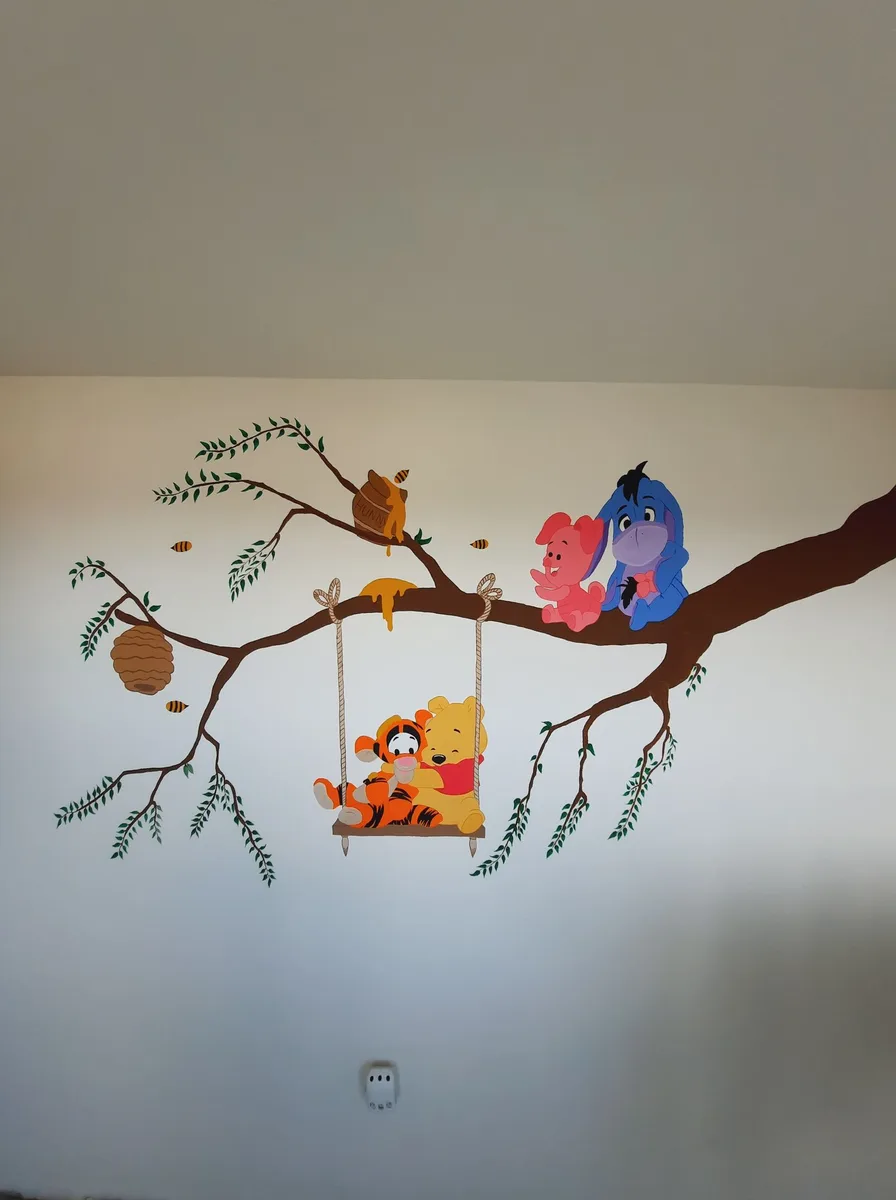
Wall decals are the ultimate DIY win: no paint, no mess, no artistic skill required — just peel, stick, and step back. From forests and mountains to stars, rainbows, and animals, there’s a decal for every nursery theme, and most cost less than dinner out.
Application is forgiving: start from the centre and work outward, smooth bubbles with a credit card, and reposition as needed — quality decals restick several times. They’re also renter-friendly, peeling off cleanly when it’s time to move or redecorate.
Decal tips:
● Plan the layout on the floor first, then transfer to the wall.
● Large-scale scenes (a mountain range, a tree) beat scattered small stickers.
● Combine decals with a painted arch for a layered, custom look.
● Keep spares — toddlers love peeling them, and replacements are cheap.
● Warm the decal slightly with a hairdryer for better adhesion on textured walls.
Make Handmade Garlands and Hangings

Few things say “made with love” like a handmade garland. Pom-poms (made with yarn and a fork, or bought in bulk), tassels from tissue paper or yarn, felt balls strung on twine, or fabric bunting cut from fat quarters — all take under an hour and cost very little.
Wall hangings are equally doable: a wooden dowel with hanging yarn strands, a simple macramé piece from a beginner kit, or framed fabric in an embroidery hoop. These add the texture and softness nurseries crave.
Handmade ideas:
● Pom-pom garlands in your nursery palette — drape over the crib or curtain rod.
● Tassel garlands from yarn: cheap, colourful, and quick to make.
● Embroidery-hoop art: stretch pretty fabric in hoops and hang in a cluster.
● A simple yarn wall hanging on a dowel — beginner kits make it foolproof.
● Dried-flower hoops bring natural beauty and cost almost nothing.
Build a Gallery Wall of Love

A gallery wall turns family memories and pretty prints into nursery art. Mix framed ultrasound photos, family pictures, free printable art (there are thousands online), and your baby’s name or birth details. Thrift-store frames spray-painted one colour look cohesive and cost almost nothing.
Lay the arrangement on the floor first and photograph it — then hang with confidence. Keep the centre of the arrangement at eye level when standing, and leave one spot empty for the first photo with your baby.
Gallery wall formula:
● Mix sizes: one large anchor piece, medium frames, and small accents.
● Unify with matching frames or a consistent colour story.
● Include personal pieces — ultrasounds, family photos, a handprint.
● Paper templates taped to the wall let you perfect spacing before hammering.
● Command strips hold light frames damage-free — ideal for renters.
Add Personal Touches That Tell Your Story

The most meaningful DIY of all is personalisation. A wooden name sign (cut with a craft machine or ordered unfinished and painted yourself), a framed birth-stats print you designed, or your baby’s handprints in a frame — these are the pieces you’ll keep forever.
Consider a growth chart you make yourself: a painted wooden board with marked measurements becomes a family heirloom. Or frame a piece of fabric from a grandparent’s clothing as wall art — a beautiful way to include family history.
Personal touches:
● A DIY name sign: paint or stain a wooden cutout in your palette.
● A growth-chart board that moves house to house with you.
● Framed handprints or footprints — capture them early, they grow fast.
● The best DIY decor isn’t perfect — it’s personal. Imperfections are the point. Years from now, those handmade walls will tell the story of how loved this baby was before they even arrived.
● Date the back of every handmade piece — future you will be glad.