

Beautiful dining room walls don’t require a big budget — they require imagination. Some of the most charming dining rooms I’ve seen were decorated for less than the cost of one designer print, using paint, thrifted frames, and projects you can finish in a weekend. Money buys convenience, but creativity buys character.
The secret to budget wall decor that doesn’t look cheap is finish and scale. A large DIY piece with clean edges looks expensive; small, fussy crafts look, well, crafty. This guide focuses on high-impact, low-cost projects — each under £20 — that give your dining room walls a genuinely designed feel.
You’ll need nothing fancier than basic tools most homes already have: a roller, a spirit level, sandpaper, and a drill. Every project here is beginner-friendly and finishes in a day or two.
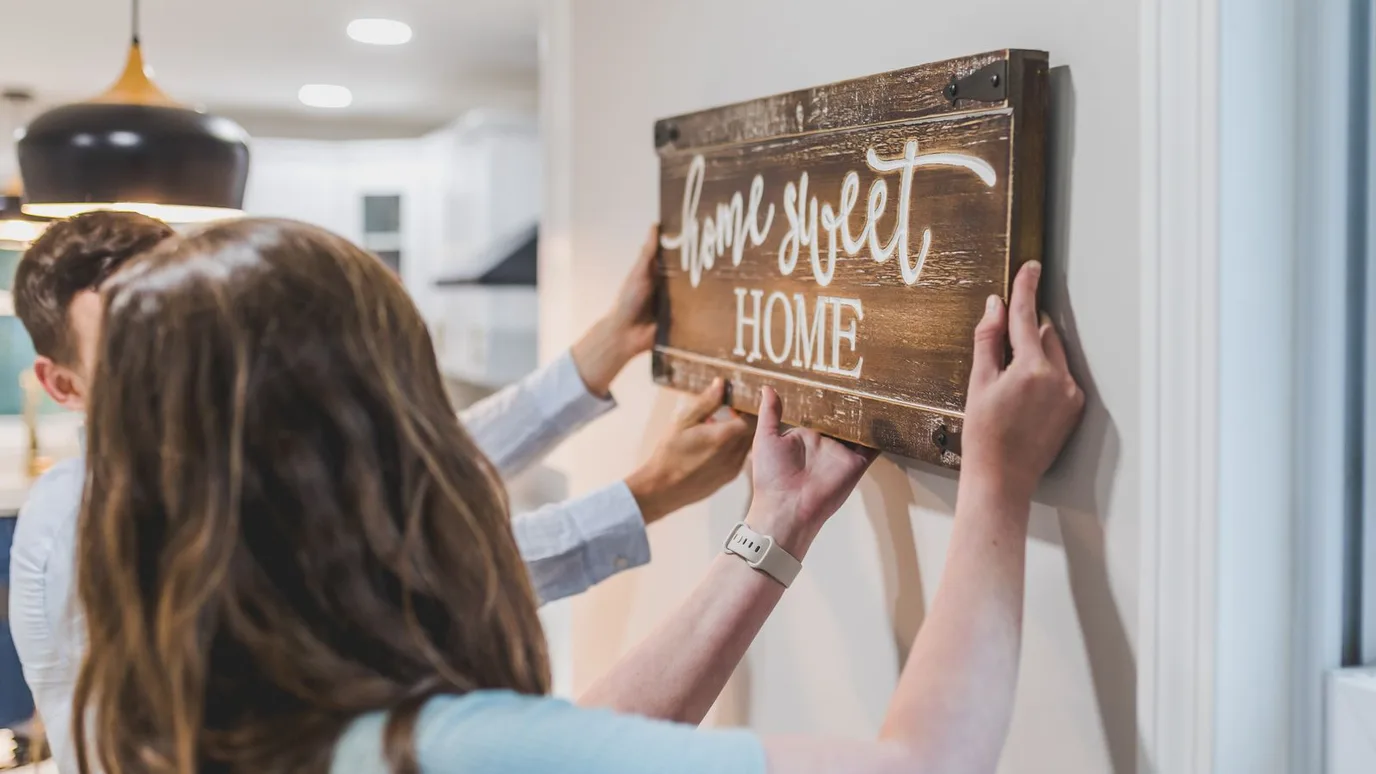
Start With Paint — the Cheapest Transformation
A tin of paint is the best value in home decor. Before buying a single frame, consider what paint alone can do: a bold accent wall, hand-painted arches, colour-blocked sections, or a simple two-tone wall with a crisp dividing line. These look intentional and modern, and cost almost nothing.
Paint projects with big payoff:
● A painted arch behind the sideboard frames it like art — mark it with a pencil, tin lid, and steady hand.
● Colour blocking: paint the lower third of the wall a deep tone and the top white for instant architecture.
● Use painter’s tape for razor-sharp lines; press the edges down firmly to stop bleeding.
● Sample pots (£3–4 each) are enough for small geometric designs — buy three colours, not one big tin.
Thrift Frames and Paint Them One Colour
Charity shops are full of solid wooden frames for £1–3 each. The trick that makes them look designer is unity: spray-paint every frame the same colour — matte black, brass gold, or chalky white — and suddenly a random collection looks like a curated set. Fill them with free printable art or your own photos.
The thrifted-frame formula:
● Buy frames for size and shape, not what’s inside them; the art gets replaced anyway.
● One can of spray paint (£6–8) covers six to eight frames — sand lightly first for adhesion.
● Download free high-resolution art from museum public-domain collections and print at the library.
● Use identical mounts (cut from white card) so different-sized frames still feel like a set.
Hang a Plate or Basket Wall
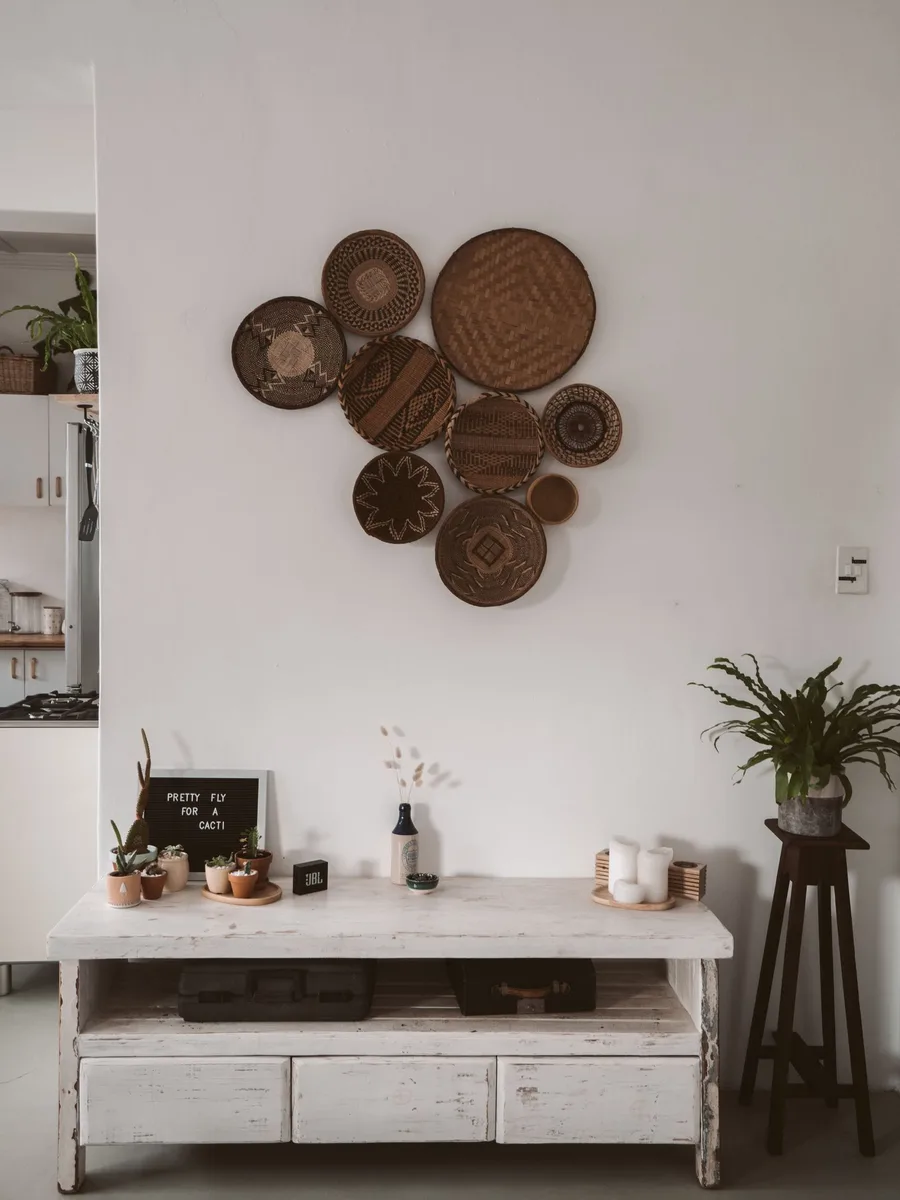
A wall of decorative plates or flat woven baskets is pure charm for almost no money. Thrifted plates cost pennies, baskets a few pounds, and the result looks collected and artful — especially in farmhouse, boho, or eclectic dining rooms. The key is planning the layout on the floor first.
Plate-wall pointers:
● Mix sizes but keep a loose colour story — all blue-and-white, all natural wicker, or all cream.
● Trace each plate on paper, tape the papers to the wall, and adjust until the arrangement feels balanced.
● Use proper plate hangers or adhesive disc hangers (£5 for a pack) — never glue or tape.
● Odd numbers (5, 7, 9) look more natural than even rows; let the shape be organic, not rigid.
● Check charity shops and car boot sales first — mismatched vintage plates often cost under 50p each.

Try Stencils and Wall Decals
A large stencil (£10–15, reusable) can mimic expensive wallpaper across a whole dining room wall. Moroccan trellis, subtle damask, or simple geometric repeats all work — the trick is a light touch: use barely-there contrast (tone-on-tone) so mistakes don’t shout. Peel-and-stick decals are even easier and fully removable.
Stencil success tips:
● Practise on cardboard first to get the paint loading right — too much paint bleeds under the edges.
● Use a dense foam roller or stencil brush with an almost-dry technique for crisp lines.
● Start in the least visible corner; your technique improves as you go.
● Tone-on-tone (matt pattern over eggshell base) looks far more expensive than high contrast.
● When the stencil is done, seal it with a clear matt varnish in high-traffic spots so it wears well.
Build Simple Wood Projects
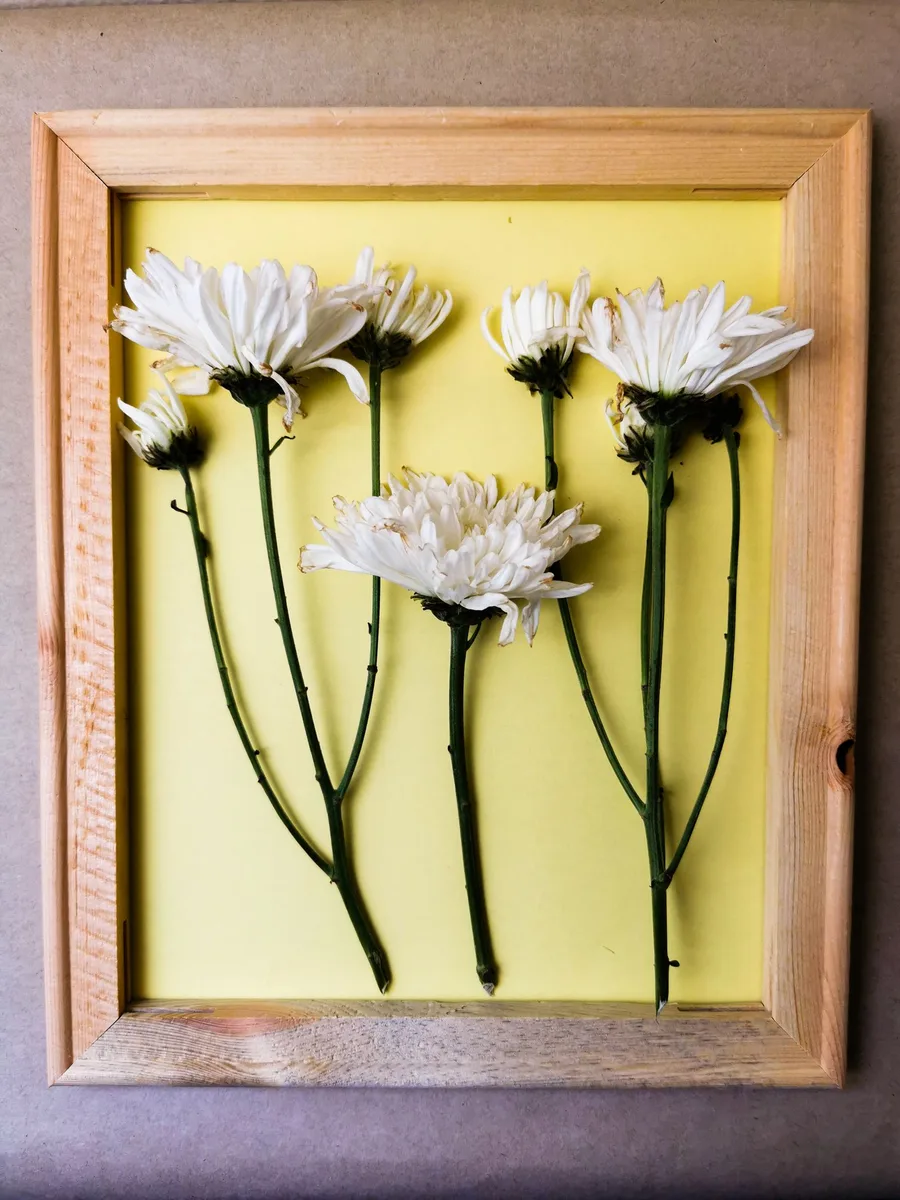
A few lengths of timber can become the most characterful thing on your wall. A floating shelf from a scaffold board (£10), a slatted wood panel, or a simple frame made from trim all add the warmth and texture that expensive rooms have. You need only a saw, sandpaper, and brackets.
Easy wood wins:
● A chunky floating shelf styled with plates and greenery costs under £15 and looks bespoke.
● Glue vertical battens to a plywood backboard for a fluted panel effect — paint it the wall colour for subtlety.
● Sand and wax reclaimed pallets boards for a rustic feature strip behind the table.
● Always sand to smooth and seal with wax or oil; rough DIY wood looks unfinished, not rustic.

Make It Look Expensive: the Final 10%
The difference between “DIY” and “designer” is the finishing. Straight hangs, hidden fixings, consistent spacing, and a unifying colour thread across all your projects make budget decor look deliberate. Spend your last pounds on these details, not more stuff.
Finishing checklist:
● Use a spirit level and measure twice — crooked hangs scream amateur louder than cheap materials.
● Hide all fixings: fill, sand, and touch up every screw hole and rawl plug.
● Repeat one colour or material across projects (all black frames, all oak) for cohesion.
● Step back, photograph, and remove anything that doesn’t earn its place — editing is free.