

A tiny room is the best place to fake a big budget, because every change lands harder in a small space.
Expensive-looking rooms are not about expensive things; they are about confident decisions — one rich paint colour instead of four timid ones, matching metals instead of a jumble, lighting that flatters instead of overhead glare. Most of the ideas here cost less than a takeaway dinner, yet each one borrows a trick straight from professional designers.
The secret designers rarely say out loud is cohesion: when everything speaks the same colour language, even thrifted pieces read as curated.
Restraint does the rest — one luxe texture like velvet or brass, repeated twice, signals intention. And in a small room you need less of everything: one tin of paint covers the accent wall, one great mirror changes the light, one afternoon of styling changes the whole feel.
This guide collects 22 stunning tiny room makeover ideas on a budget that look expensive, each with practical steps you can tackle in a weekend.
From peel-and-stick wallpaper and painted furniture to hardware swaps and layered lighting, you will find a transformation for every corner — and proof that a small space with big style costs far less than you think.

1. Paint One Wall in a Rich, Moody Shade
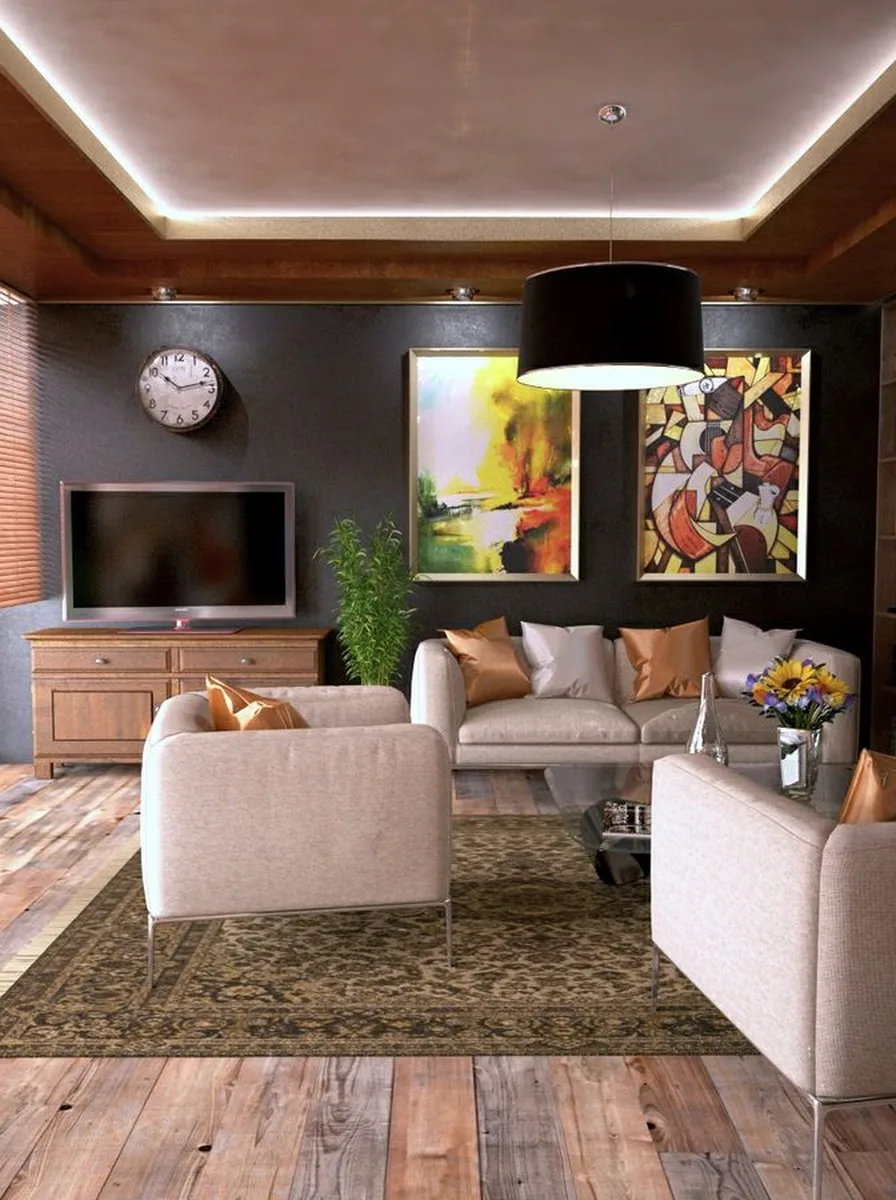
Nothing reads expensive faster than a deep, confident wall colour. In a tiny room, one accent wall in inky navy, forest green, or warm charcoal adds instant drama and depth, and because it is a single wall the colour feels intentional rather than overwhelming. Dark walls also blur corners, which paradoxically makes a small room feel larger and more cocooning at once.
One litre of quality paint usually covers an accent wall, so this is a twenty-dollar transformation. Choose the wall your eye lands on first — behind the bed or sofa — and keep the other walls a warm white so the dark shade glows. Use a matt finish for a velvety, designer look, and paint in daylight so you can see the true colour as you go.
2. Swap Every Knob and Pull for Brass

Mismatched, dated hardware quietly cheapens a room, while a full set of matching knobs reads as a custom upgrade. Warm brass or brushed gold pulls on a dresser, wardrobe, and doors pull the whole room together in one afternoon, and the metallic glint catches light in a way that flat nickel never does. It is jewellery for furniture.
Measure the hole spacing before you shop — most drawers use 96mm or 128mm centres — and buy one style for the whole room so everything matches. Budget brass-look pulls cost a few dollars each online. Keep the old screws and hardware in a bag taped inside a drawer; renters can swap everything back in minutes.
3. Hang Curtains from the Ceiling
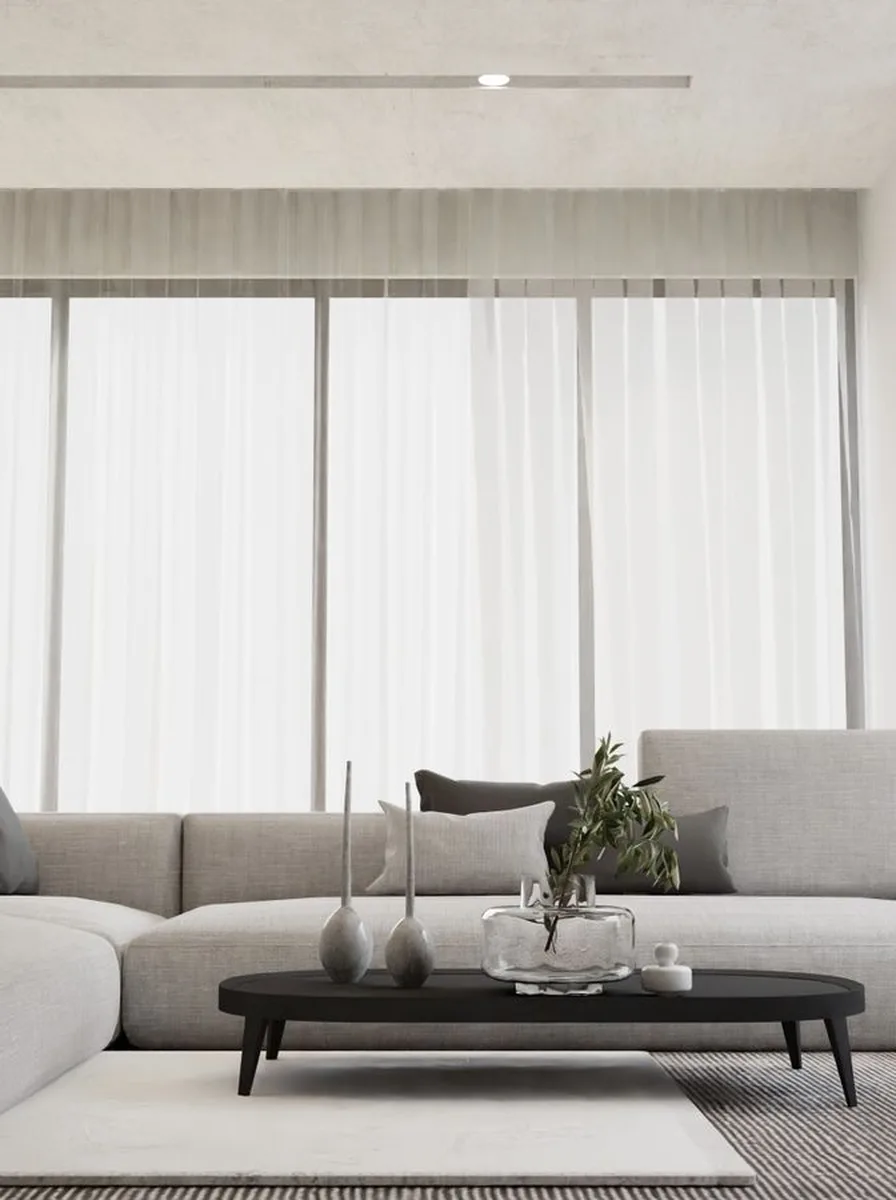
Curtains hung just above the window frame chop a room in half; curtains hung at ceiling height make walls look taller and windows look grand. In a tiny room this one change lifts the whole space, and floor-length panels in a heavy fabric add a softness that reads as pure luxury. The eye travels up, and the ceiling feels higher than it is.
Mount the rod four to six inches below the ceiling and extend it six to eight inches past the window on each side so the panels stack clear of the glass. Budget velvet-look or linen-look panels cost little but drape beautifully. Iron or steam them once — crisp, wrinkle-free curtains are the difference between cheap and couture.
4. Layer a Thrifted Rug Over a Plain One
Layered rugs are a designer signature, and thrift stores are full of them. Lay a large, inexpensive flat-weave or jute rug as the base, then angle a smaller patterned rug on top at a slight rotation. The layering adds texture, pattern, and a collected-over-time feel that a single new rug rarely achieves — and the whole stack costs less than one mid-range rug.
Keep the base rug neutral and let the top rug carry the pattern, and make sure the top layer is at least a third smaller so the base frames it. A rug pad underneath stops slipping and adds plushness underfoot. Check thrift stores weekly; the best patterned rugs appear and vanish fast.
5. Build a Gallery Wall from Thrifted Frames

A gallery wall turns bare walls into a curated collection, and it costs almost nothing when the frames come from thrift stores. The trick is unity: paint or choose frames in one finish — all black, all gold, all natural wood — so wildly different art still reads as one intentional composition. Suddenly the wall looks designed, not decorated-by-accident.
Lay the arrangement on the floor first and photograph it before a single nail goes in. Start with the largest piece at eye level, about 57 inches to the centre, and build outward. Mix art prints, postcards, and even fabric swatches; with matching frames, everything belongs. Removable picture-hanging strips keep it renter-friendly.
6. Try Peel-and-Stick Wallpaper on One Wall

Wallpaper is the fastest route to a room that looks professionally designed, and the peel-and-stick version removes the fear. One feature wall in a grasscloth-look, subtle stripe, or botanical print adds texture and pattern that paint alone cannot, and in a tiny room a single wall is affordable and achievable in an afternoon. Renters can peel it off when they move.
Start in the least visible corner so any learning curve hides there, and use a plastic smoother to chase out bubbles as you go. Measure twice — most rolls cover about 28 square feet — and buy one extra roll for pattern matching. A bold print on one wall plus calm paint elsewhere is the formula designers use.
7. Paint a Tired Dresser a Sophisticated Colour
A dated wooden dresser becomes a designer piece with one tin of paint. Deep green, inky blue, or warm greige instantly modernise honey-oak or scratched veneer, and painted furniture reads as deliberate in a way that tired wood never does. In a tiny room, one painted statement piece anchors the whole scheme.
Clean with sugar soap, lightly sand, and use a bonding primer — skipping prep is why painted furniture chips. Two thin coats of furniture paint beat one thick coat, and new brass knobs complete the transformation. Let it cure a full week before heavy use; patience is the difference between DIY and done-right.
8. Upgrade the Lighting, Not the Fixtures
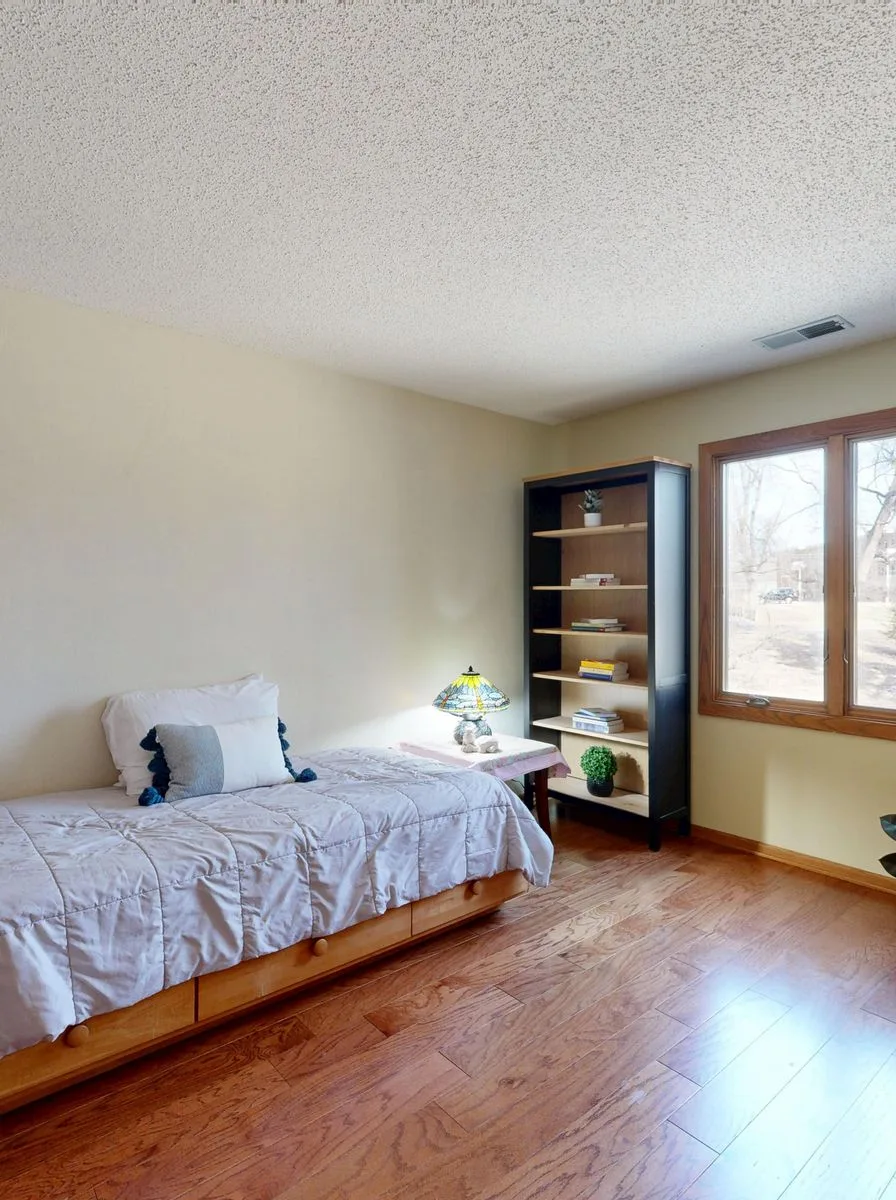
Harsh overhead lighting flattens a room and makes everything look cheaper; warm, layered light does the opposite. Swap every bulb for warm white (2700K), add a thrifted table lamp with a fresh shade, and drape a string of fairy lights where they will glow rather than glare. The room will photograph better and feel calmer instantly.
Aim for light at three heights — overhead, table, and floor or string level — so no corner sits in shadow. A dimmer plug on a floor lamp costs a few dollars and transforms evenings. Never mix bulb colours in one room; one consistent warm tone is what makes lighting look expensive.
9. Fake Custom Built-Ins with Two Bookcases

Floor-to-ceiling built-in shelving screams custom — and custom screams expensive. Two identical tall bookcases flanking a window or bed, painted the same colour as the wall, fake the look convincingly. Fill them with books, baskets, and a few styled objects, and the room gains architecture it never had, plus a wall of storage.
Secure bookcases to the wall with anti-tip straps, then bridge the tops with a simple painted board or crown strip to sell the built-in illusion. Keep shelves about two-thirds books and one-third breathing room; overstuffed shelves read as clutter. Matching baskets on the bottom shelves hide the mess.
10. Spray-Paint Mismatched Frames One Finish
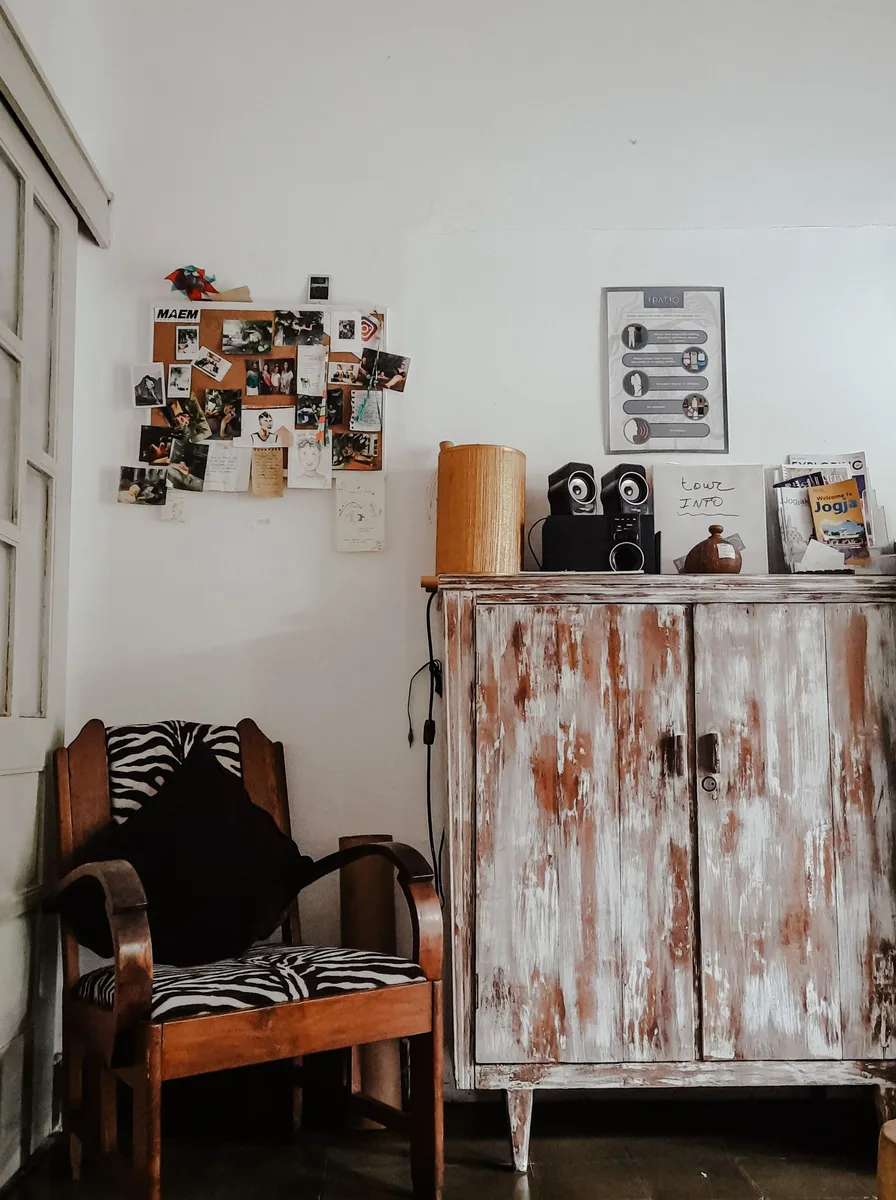
A collection of frames in random finishes looks accidental; the same frames in one finish look curated. A tin of metallic gold, matt black, or brass spray paint unifies thrifted frames, old mirrors, and even plastic trays into a matching set. It is the cheapest way to make disparate objects look like they were bought together.
Clean and lightly sand each piece, then apply two to three light coats rather than one heavy one to avoid drips. Spray outdoors or in a ventilated garage, and let pieces cure overnight before hanging. One finish across frames, a tray, and a small mirror ties a whole vignette together.
11. Lay Peel-and-Stick Floor Tiles
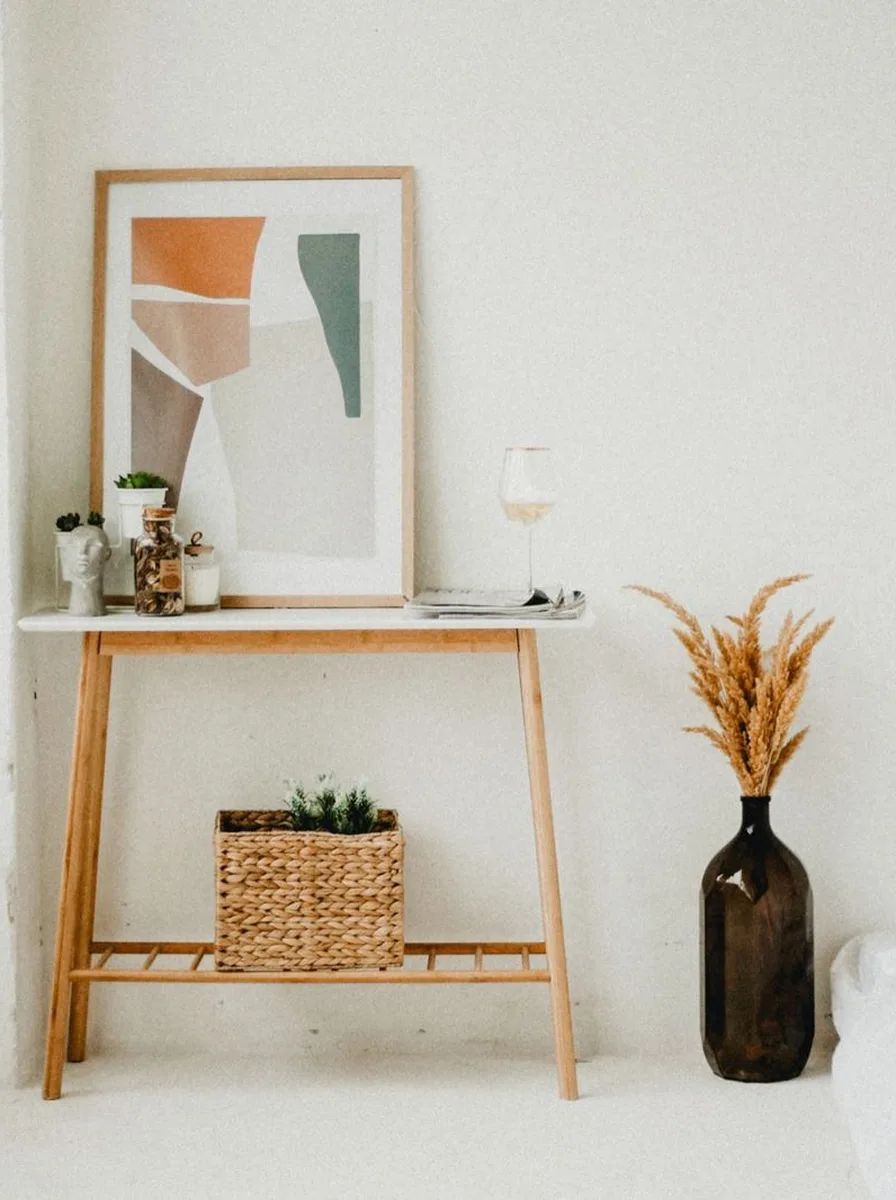
Tired rental flooring drags a whole room down, but peel-and-stick vinyl tiles in a marble, terrazzo, or checkerboard pattern lay right over it. In a tiny room you need few tiles, so a premium pattern stays affordable, and the transformation is instant — the floor goes from apology to feature in a single afternoon.
Clean the existing floor thoroughly and start from the centre of the room so cut tiles land at the edges. A sharp utility knife and a straight edge give clean cuts, and a rolling pin pressed over each tile improves adhesion. Check your lease first; most landlords welcome an upgrade they did not pay for.
12. Make a DIY Upholstered Headboard
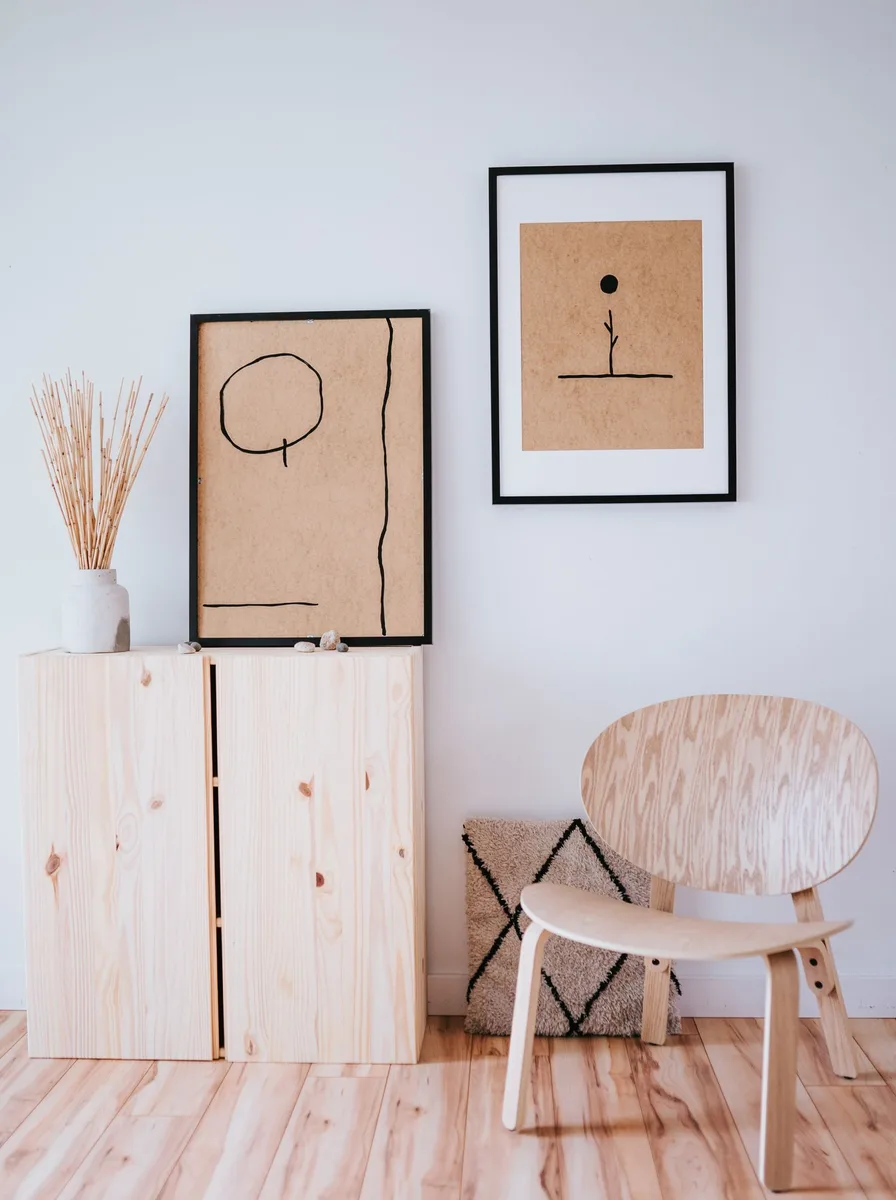
An upholstered headboard is shorthand for a boutique hotel, and making one costs a fraction of buying. A plywood board cut to size, wrapped in foam and a handsome fabric — velvet, linen, or even a thrifted curtain — then mounted to the wall behind the bed, turns the bed into the room’s deliberate centrepiece. Tufting is optional; clean lines look modern.
Size the board to span the bed width plus a few inches each side, and hang it so its base sits just above the mattress. A staple gun secures the fabric on the back; pull firmly for a smooth face. Choose a performance fabric if you lean against it to read — it will wipe clean for years.
13. Add a Ceiling Medallion
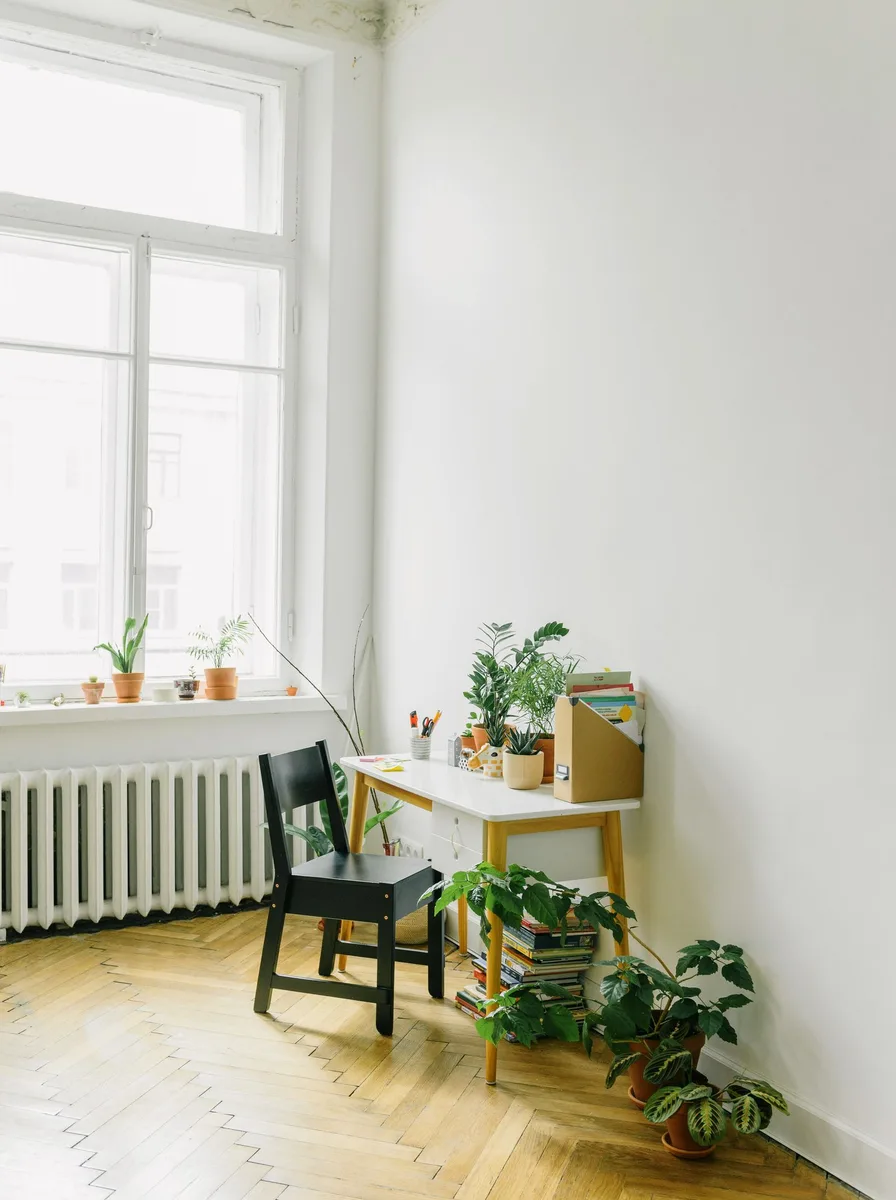
A ceiling medallion around the light fixture is pure old-house elegance, and the polyurethane kind costs little and installs with adhesive. In a tiny room it draws the eye up and gives even a basic flush-mount light a sense of occasion. Painted the same white as the ceiling, it reads as original architecture.
Choose a medallion slightly wider than your light fixture — too small looks like an afterthought. Mark the ceiling centre, apply construction adhesive to the back, press firmly, and caulk the edge for a seamless finish. Half an hour of work, and the ceiling suddenly has a pedigree.
14. Paint the Interior Doors
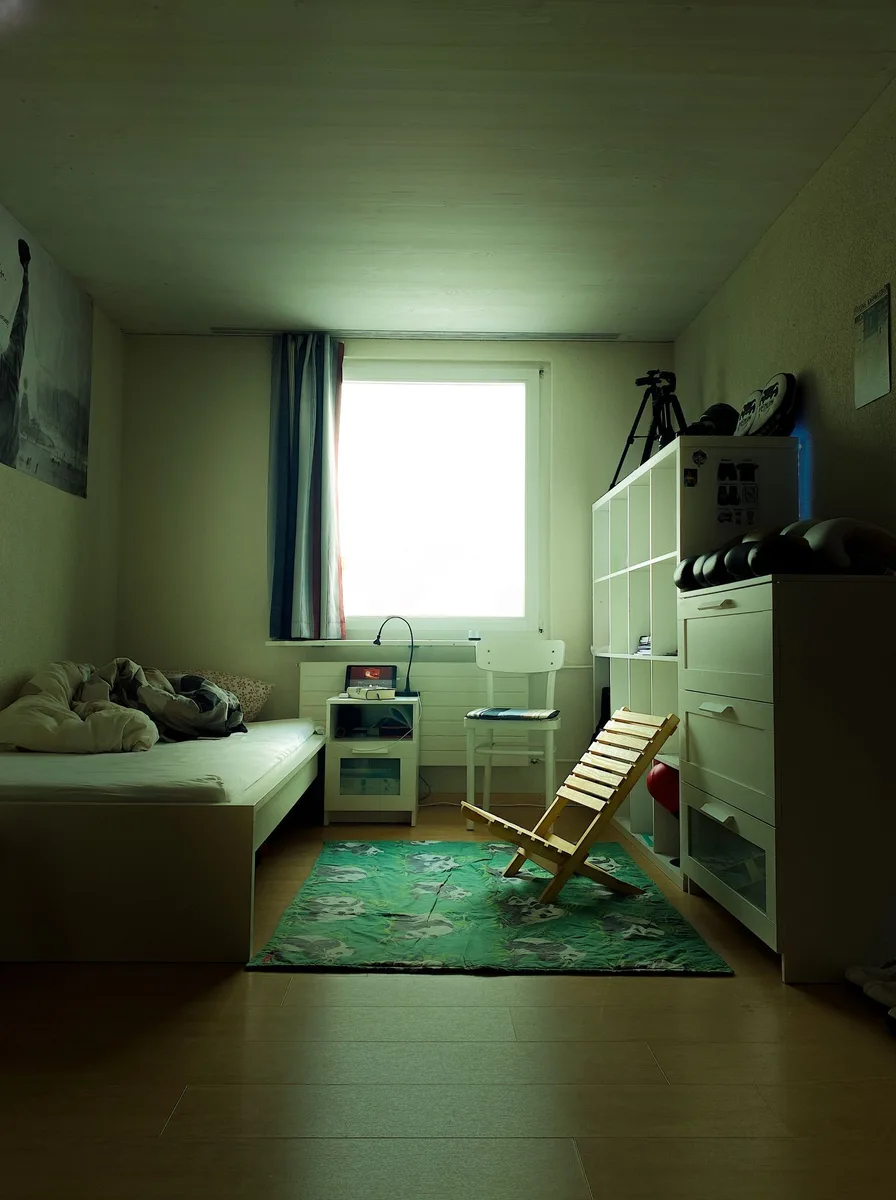
White doors are the default nobody notices; painted doors are a design statement. One tin of paint in deep green, navy, or even soft black transforms every door in a tiny flat into a tailored detail, and because doors are narrow the bold colour never overwhelms. It is the kind of detail guests assume cost a designer.
Remove the handles, clean, sand lightly, and use a paint made for trim so it resists scuffs. Paint the edges too — a half-painted door edge ruins the illusion. Keep walls light so the doors pop, and repeat the colour once elsewhere, like a small stool or frame, to make it feel planned.
15. Style Open Shelves Like a Boutique
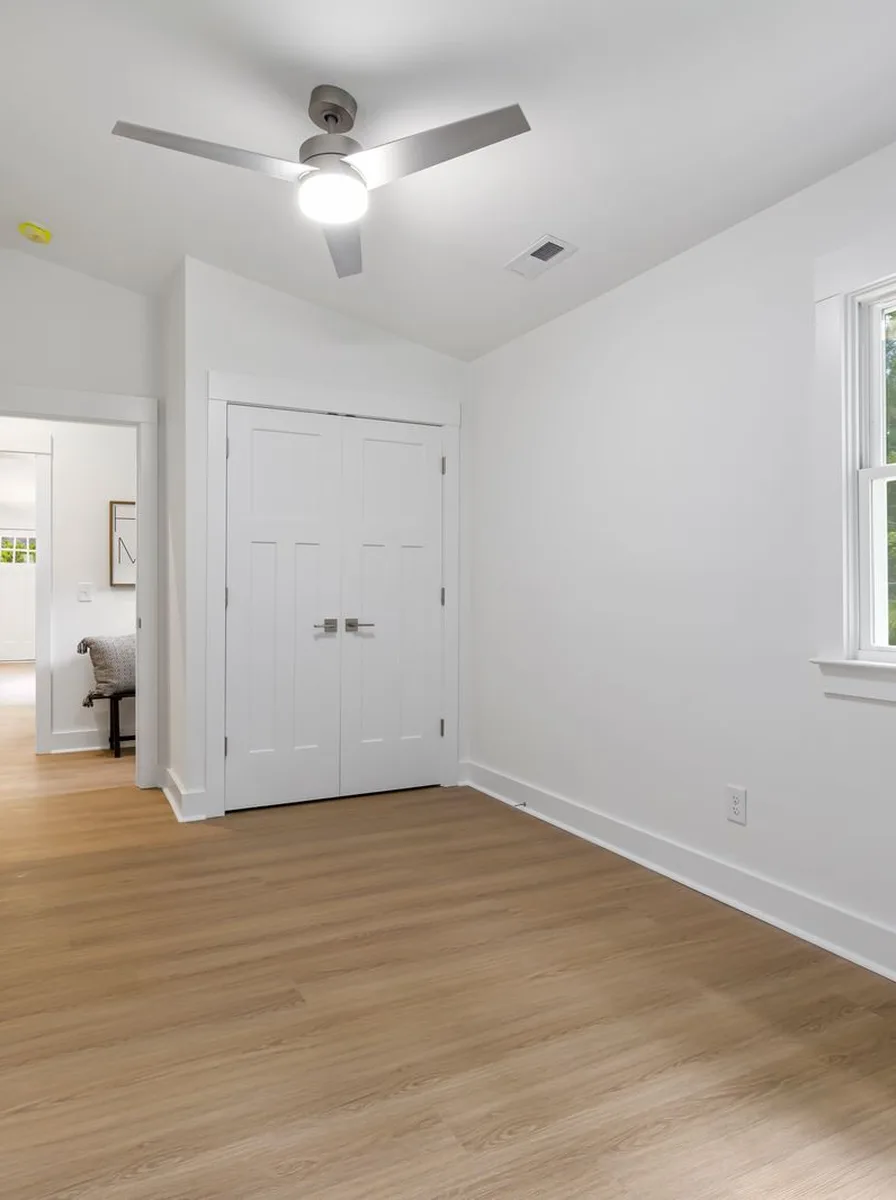
Open shelving can look cluttered or curated, and the difference is styling, not spending. Group objects in odd numbers, vary heights, leave breathing room between clusters, and repeat two or three colours across the shelves. Suddenly the shelf reads as a boutique display rather than storage that ran out of doors.
Corral small items on trays so they read as one object, and mix thrifted ceramics with books stacked horizontally. Step back and photograph the shelf — the camera reveals clutter the eye forgives. Edit ruthlessly: every shelf should be about two-thirds full, with the rest as calm, empty space.
16. Dress the Bed in Hotel-White Layers
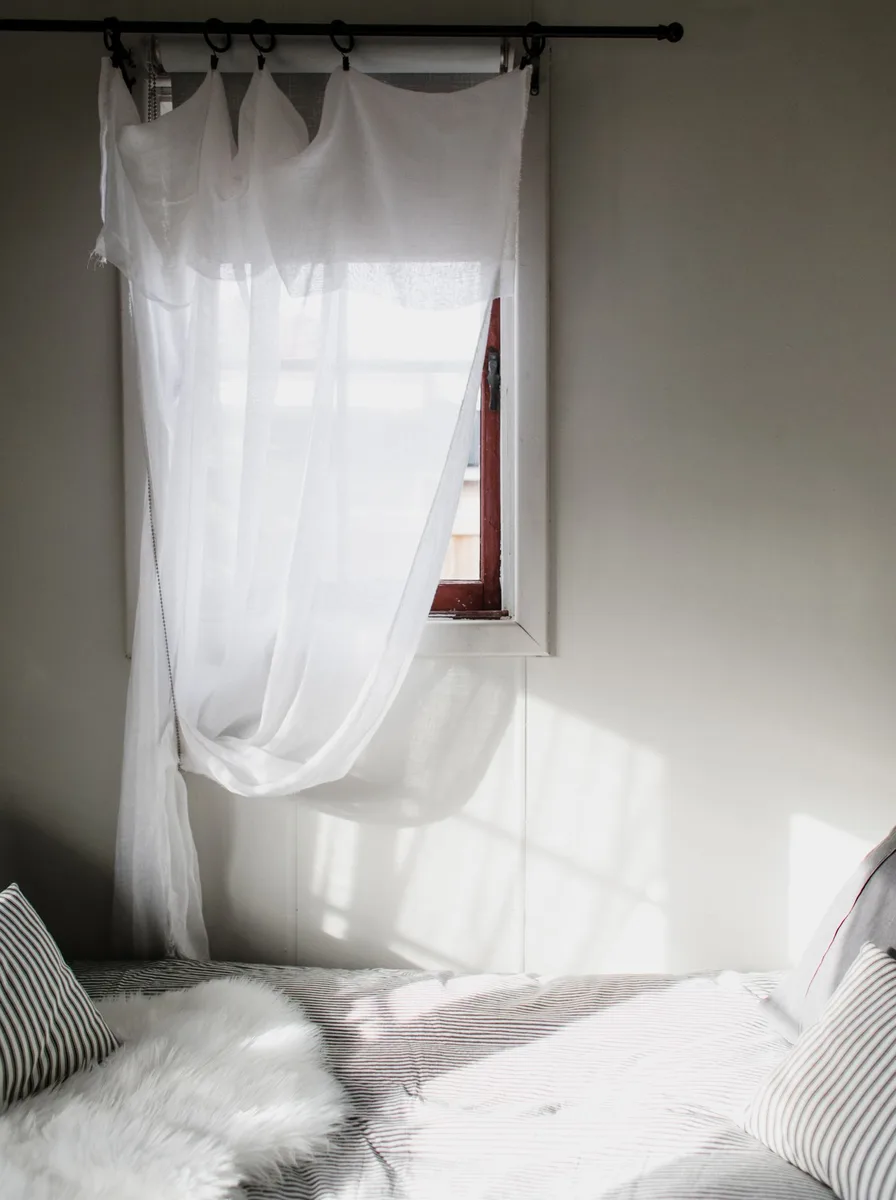
Luxury hotels use white bedding because it signals clean, crisp, expensive — and it works in a tiny bedroom too. Crisp white sheets, a white duvet, and two sleeping pillows plus two euros stacked upright create that plush, inviting look. White also reflects light, which quietly makes the small room feel brighter and bigger.
The trick is texture, not colour: mix percale sheets, a waffle or linen duvet cover, and a chunky knit throw at the foot. Iron the pillowcases once and the whole bed looks pressed and professional. Wash whites with baking soda occasionally to keep them bright; dingy white undoes the entire effect.
17. Lean a Big Thrifted Mirror Against the Wall

An oversized mirror leaning against the wall is a stylist’s favourite because it doubles light, doubles the view, and adds a sense of grandeur no small artwork can match. Thrift stores regularly hold large mirrors for a fraction of retail, and a leaning mirror needs no hanging hardware — just a stable wall and a non-slip pad behind the base.
Place it opposite or adjacent to the window to bounce daylight deep into the room, and secure the top with a discreet wall anchor for safety. A slim gold or black frame keeps it chic; if the frame is dated, spray-paint it. Wipe it streak-free and it becomes the room’s brightest feature.
18. Add Picture-Frame Moulding to Flat Walls
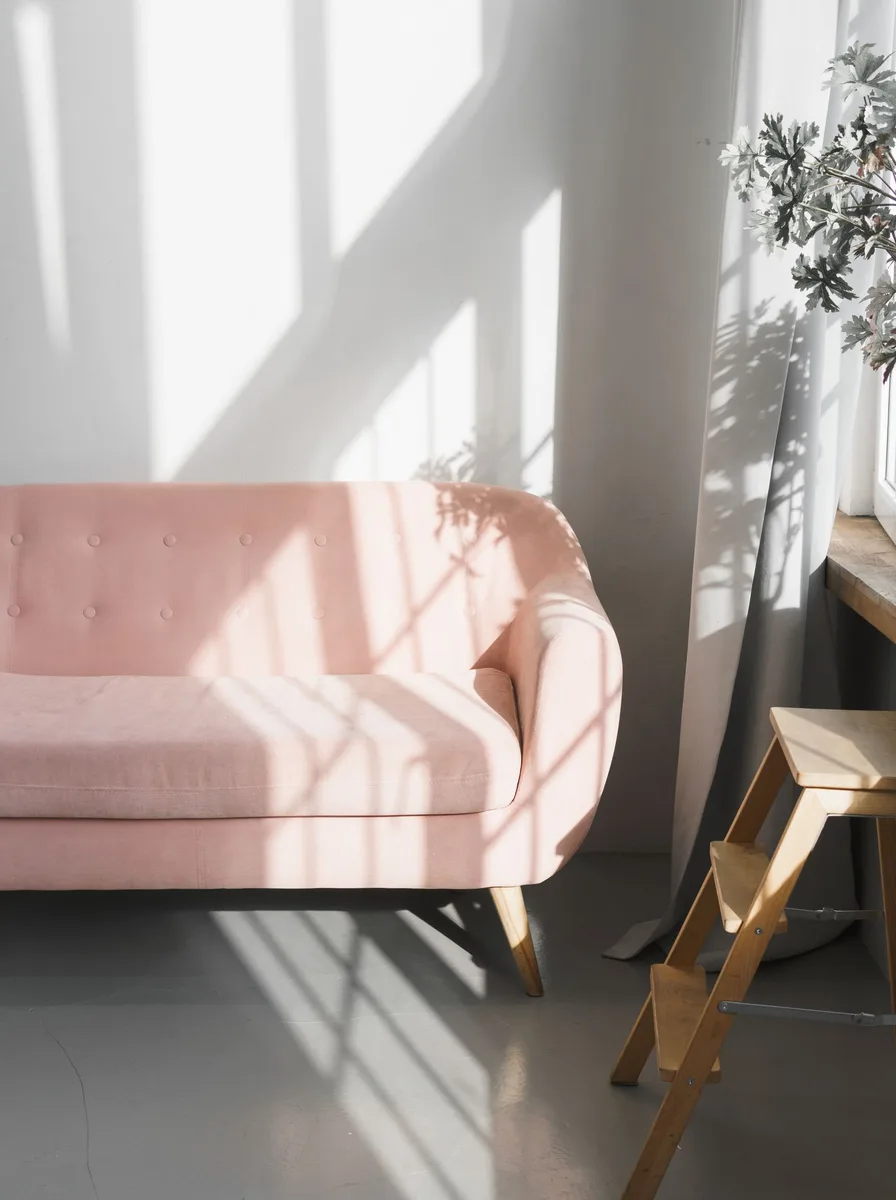
Flat, featureless walls are what make budget rooms feel basic; applied moulding boxes fake the panelled walls of period homes. Lightweight trim, cut into rectangles and glued to the wall, then painted the same colour as the wall, adds shadow lines and architecture that read as genuinely high-end. In a tiny room, one panelled wall is enough.
Plan symmetrical rectangles with painter’s tape first and live with the layout a day before committing. Use a mitre box for clean corners, construction adhesive to fix the trim, and caulk every joint before painting — caulk is what makes DIY moulding look professional. Paint wall and trim one colour for a seamless, expensive finish.
19. Fill Corners with Greenery

Nothing softens a tiny room and signals a cared-for home like living plants. A tall fiddle-leaf fig or olive tree in a corner adds height and life, while trailing pothos on shelves adds softness. Greenery reads as luxury because it says someone tends this space — and a cutting from a friend’s pothos costs nothing at all.
Choose plants for your light: snake plants and ZZ plants survive dim corners, pothos thrives almost anywhere. Pot them in matching ceramic or woven baskets — unified pots make even supermarket plants look styled. Group in odd numbers at varying heights, and wipe leaves monthly so they gleam.
20. Paint the Ceiling a Soft, Unexpected Colour

Everyone paints walls; almost nobody paints the ceiling, which is exactly why it looks so considered. A soft blush, pale sage, or warm greige on the ceiling of a tiny room wraps the space in colour and makes it feel intentional and cocooning. It is the detail that makes guests ask who your designer was.
Go two to three shades lighter than your wall colour for harmony, or pick a whisper-soft tint of your accent wall. Use flat paint to avoid highlighting imperfections, and cut in carefully — the ceiling-wall line is unforgiving. In rooms under eight feet, keep it pale; darker ceilings need height to work.
21. Swap the Lampshade, Keep the Lamp

A dated lampshade drags down even a decent lamp base, while a fresh shade makes the whole lamp look new. A drum shade in natural linen or a tapered shade in warm white instantly modernises a thrifted base, and the right shade diffuses light more flatteringly too. It is a ten-minute, ten-dollar upgrade with outsized impact.
Match the shade’s style to the base — modern base, clean drum; traditional base, tapered shade — and size it so the shade’s bottom sits at eye level when you are seated nearby. Check the fitter type (spider, uno, or clip-on) before buying. A slightly oversized shade reads as designer; a too-small one looks apologetic.
22. Finish with a Styled Tray and Candlelight
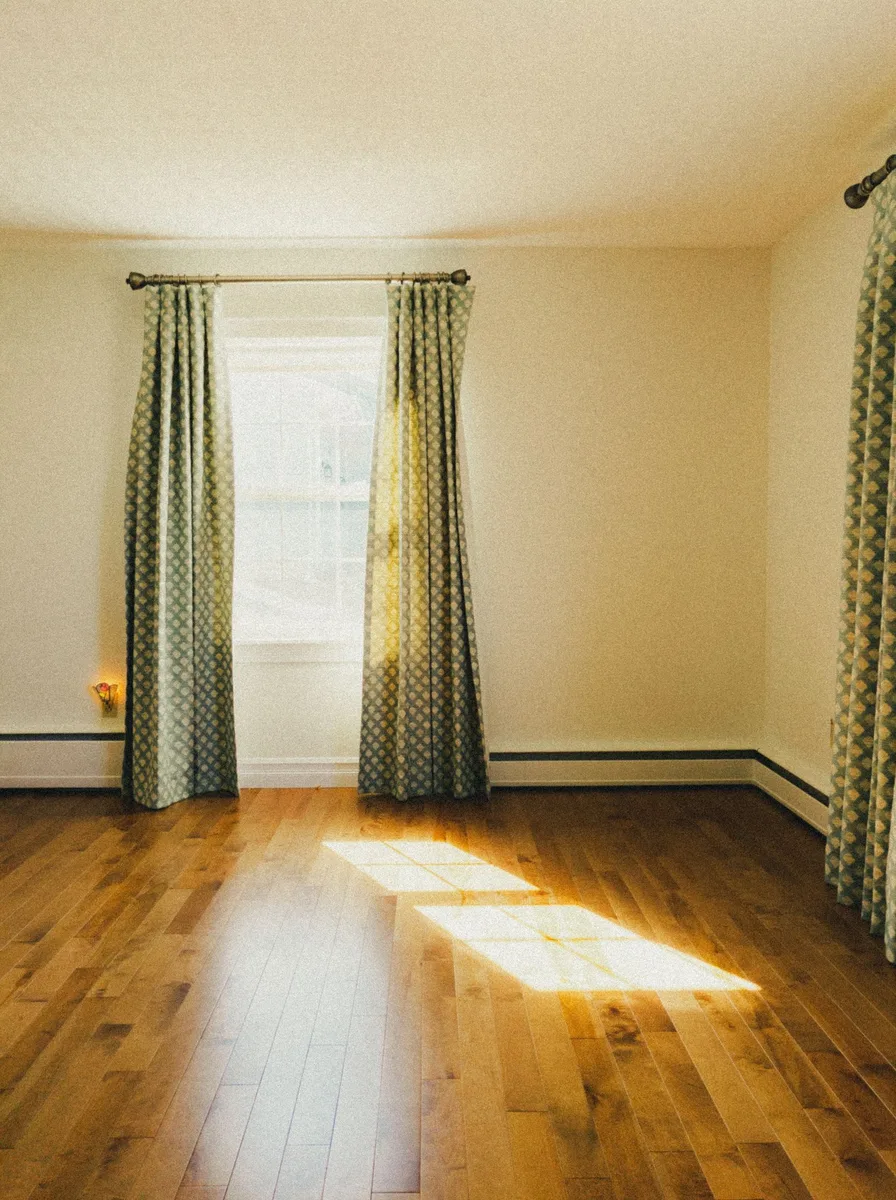
The final layer that separates styled rooms from furnished ones is a vignette: a tray on the dresser or coffee table holding a candle, a small plant, and one beautiful object. It corrals clutter into composition, adds flickering candlelight that flatters everything, and costs almost nothing — the tray can be thrifted, the candle supermarket-bought.
Keep the rule of three: three objects of varying heights on the tray, with one living thing if possible. Choose unscented or subtly scented candles for small rooms — strong fragrance overwhelms tiny spaces. Light the candle every evening; a room that glows at dusk always feels more expensive than one under a bare bulb.