

A great centerpiece does three jobs at once: it anchors the table, sets the mood, and gives people something beautiful to look at between conversations. Candle holder centerpieces do all three better than flowers alone — because they add light, and light changes everything about how a table feels.
The best part is how achievable they are. You don’t need florist skills or a big budget. A tray, a few holders at different heights, some greenery, and candles — that’s a stunning centerpiece. The formulas are simple, and once you know them, you can dress any table for any occasion.
In this guide, you’ll learn how to create stunning table centerpieces using candle holders: the foolproof formulas, occasion-by-occasion styling, and the practical rules that keep centerpieces beautiful and functional.
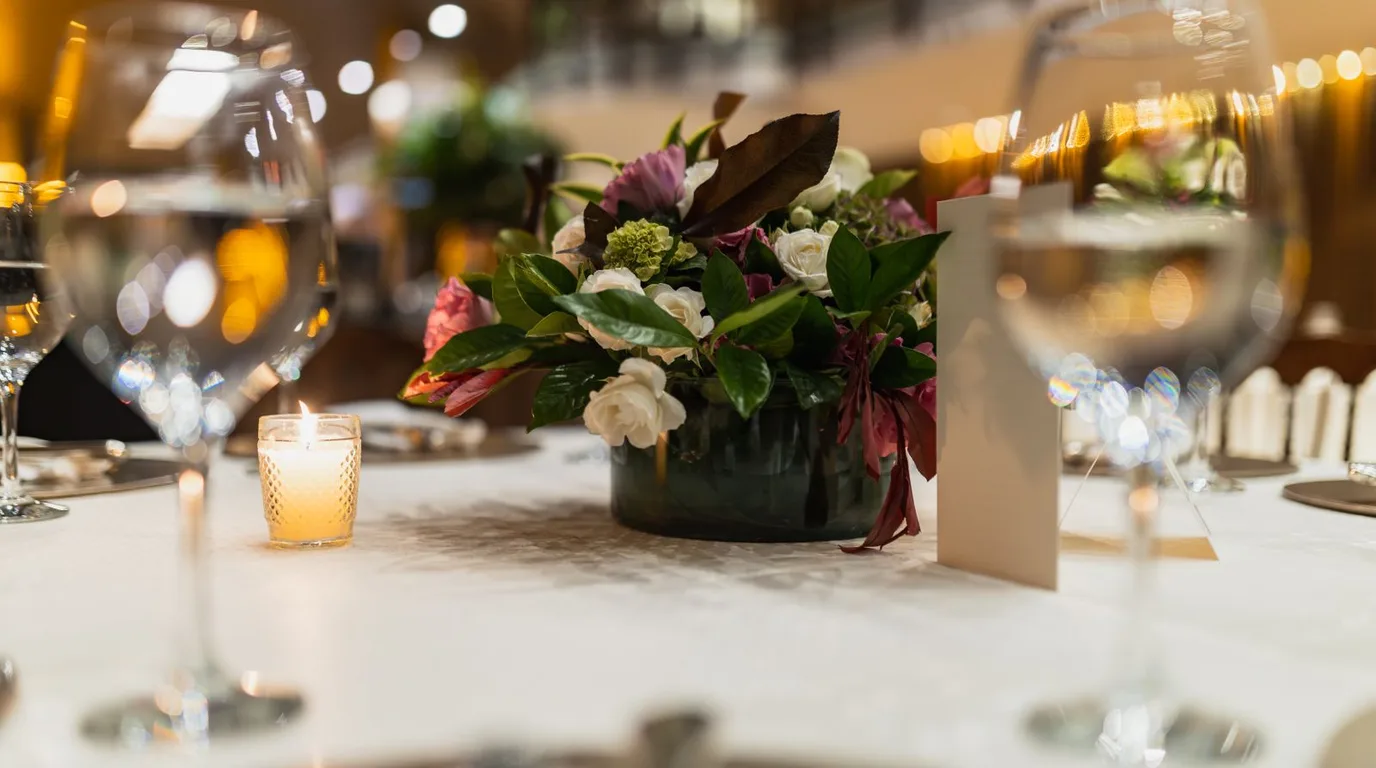
Master the Basic Formula
Almost every beautiful candle holder centerpiece follows the same formula: a base + holders at three heights + a filler + candles. The base (tray, runner, or wooden box) contains the arrangement and protects the table. The three heights (tall, medium, low) create the visual rhythm. The filler (greenery, flowers, or seasonal naturals) softens the gaps. The candles bring it to life.
Once you see the formula, you’ll spot it everywhere — in magazines, at weddings, in restaurants. And you can build it in ten minutes. Start with the base, place the tallest holder slightly off-center, add the medium and low pieces around it, tuck filler into the gaps, and light the candles last.
The foolproof formula:
● Base: a tray, table runner, or low wooden box to anchor everything.
● Three heights: tall pillar or taper holders, medium hurricanes, low votives.
● Filler: eucalyptus, pine, flowers, or seasonal naturals tucked between holders.
● Candles last: place and light them after the arrangement is set.
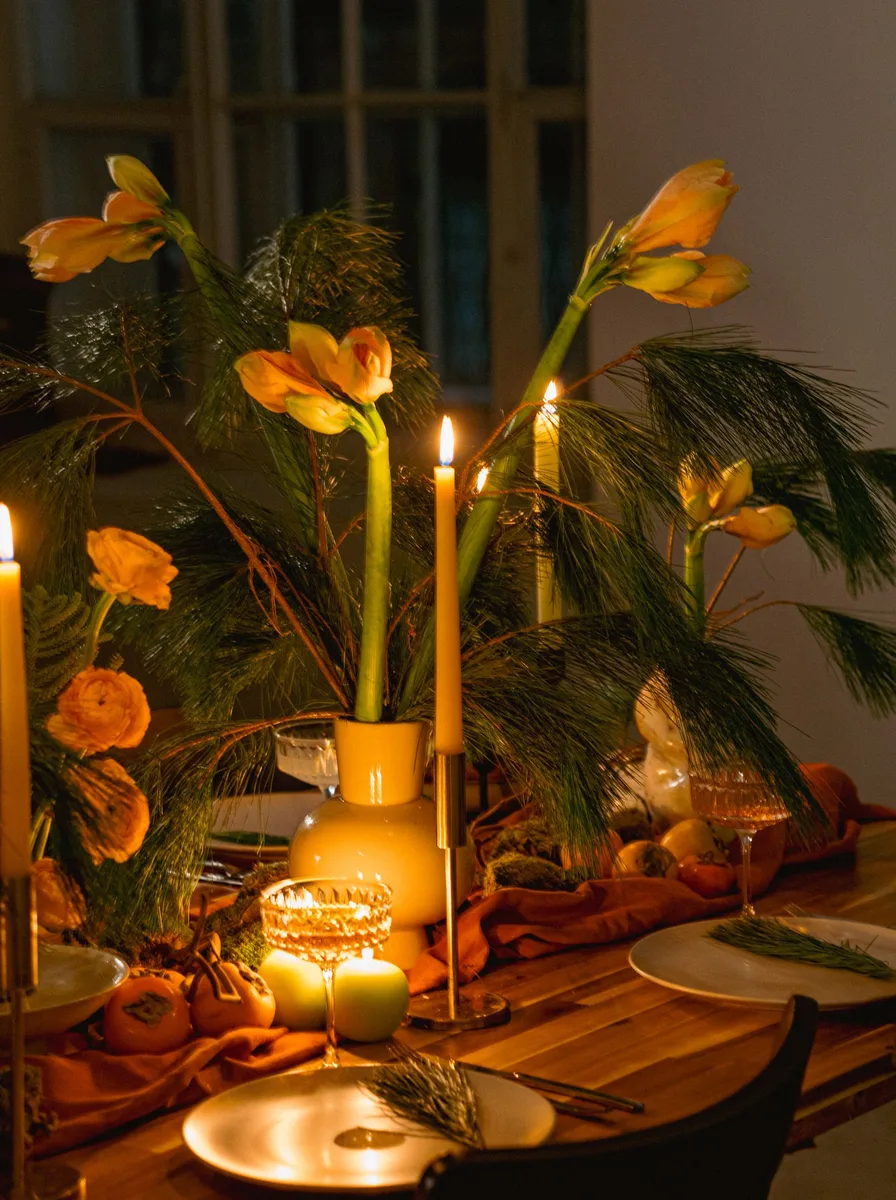
Scale It to Your Table
A centerpiece that overwhelms a small table or disappears on a long one fails at its main job. As a rule, your centerpiece should occupy about one-third of the table’s length and stay narrow enough that place settings fit comfortably on both sides. On round tables, think in terms of diameter — the arrangement should fill the middle third.
For long banquet tables, repeat a smaller arrangement down the length rather than building one giant one — three modest centerpieces look more generous than one enormous one, and they’re easier to see around. For small round tables, a single compact cluster is perfect.
Get the scale right:
● Length: the arrangement should span roughly a third of the table.
● Width: leave generous room for plates, glasses, and serving dishes.
● Long tables: repeat a small arrangement 2–3 times instead of one big piece.
● Round tables: one centered cluster, sized to the middle third of the diameter.

Keep It Conversation-Friendly
The number one centerpiece mistake is blocking the view. Guests should be able to see each other across the table — that’s the whole point of gathering. Keep tall elements at the ends or the very center where nobody sits directly opposite, and keep the sightline across the middle low.
A good test: sit down and look across. If you have to lean to see the person opposite, the centerpiece is too tall. Either lower it, split it into two smaller arrangements with a gap, or move the tall pieces to the ends where they frame rather than block.
Design for conversation:
● Keep the central sightline under 12 inches so guests see each other easily.
● Put tall holders at the table ends or in the exact center between place settings.
● Split one tall arrangement into two low ones with a gap for better flow.
● Always do the sit-down test before guests arrive.

Style for the Occasion
The same candle holders can dress completely differently with a change of filler and candles. For everyday dinners, keep it simple: the holders, ivory candles, and a little greenery. For holidays, go lush — deep colours, abundant naturals, metallic accents. For dinner parties, add flowers and taper candles for a touch of formality.
Build a small kit of interchangeable fillers and you can restyle in minutes: a bag of eucalyptus, some seasonal branches, a few metallic ornaments, linen napkins that double as styling fabric. The holders are the constant; everything else is costume.
One kit, many occasions:
● Everyday: ivory candles + simple greenery — effortless and always appropriate.
● Holidays: seasonal naturals, coloured candles, and a metallic accent or two.
● Dinner parties: fresh flowers and tapers for understated formality.
● Outdoor: hurricanes and LED candles that won’t blow out or melt in heat.

Make It Last Beyond One Night
The best centerpieces aren’t one-night stands — they’re arrangements you can live with. Design yours so it works lit for dinner and unlit for everyday: attractive holders, a base that looks good on its own, filler that doesn’t wilt in a day. Then it earns its place on the table permanently instead of being packed away.
Choose long-lasting fillers like eucalyptus, dried flowers, or quality faux greenery that looks good for weeks. Use LED candles with timers for the everyday glow and swap in real candles for special nights. A centerpiece that lives on the table gets enjoyed daily instead of twice a year.
Design for the long term:
● Pick fillers that last: eucalyptus, dried botanicals, or good faux greenery.
● Use LED candles with timers for daily ambience; real candles for occasions.
● Dust the arrangement weekly so it always looks intentional, not forgotten.
● Refresh the filler seasonally — five minutes keeps it feeling current all year.