

A gallery wall is the most personal thing you can put on a dining room wall — a curated mix of art, photos, and objects that tells your story. But the difference between a stunning gallery wall and a messy one is planning. Great gallery walls are designed on the floor long before a single nail goes in.
This is the complete step-by-step method: choosing your pieces, planning the layout, getting spacing right, hanging in the correct order, and styling the room around your finished wall. Follow it exactly and you’ll get a gallery wall that looks collected and confident.
Set aside a relaxed afternoon for this project. Rushing a gallery wall is how crooked, crowded arrangements happen — patience is the main tool you’ll need.
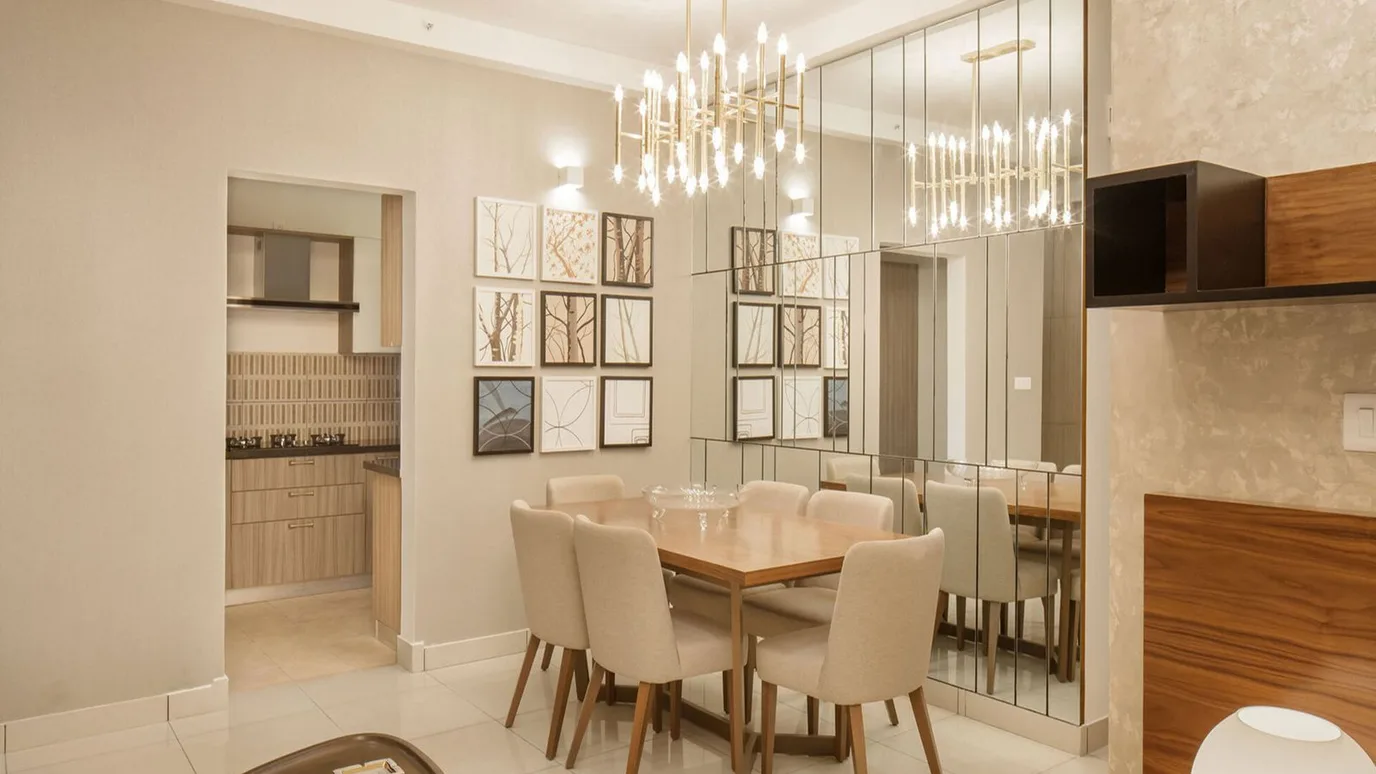
Step 1: Gather and Curate Your Pieces
Start by collecting more pieces than you need — art prints, family photos, a mirror, a small wall sculpture, even a beautiful plate. Lay everything on the floor and edit ruthlessly. A great gallery wall needs variety in size but unity in feeling: pick a loose colour palette (three colours max) and a frame story (all black, all wood, or intentionally mixed).
Curating the mix:
● Aim for 7–12 pieces; fewer looks sparse, more looks chaotic on most walls.
● Include one larger anchor piece — it gives the arrangement a centre of gravity.
● Mix mediums: prints, one mirror, one textural object (basket, plate, small shelf) for depth.
● Keep a consistent thread — same frame colour, same mount style, or same palette — so variety feels curated.
● Include one personal piece (a family photo, a holiday print) — it’s what makes the wall yours, not a catalogue.
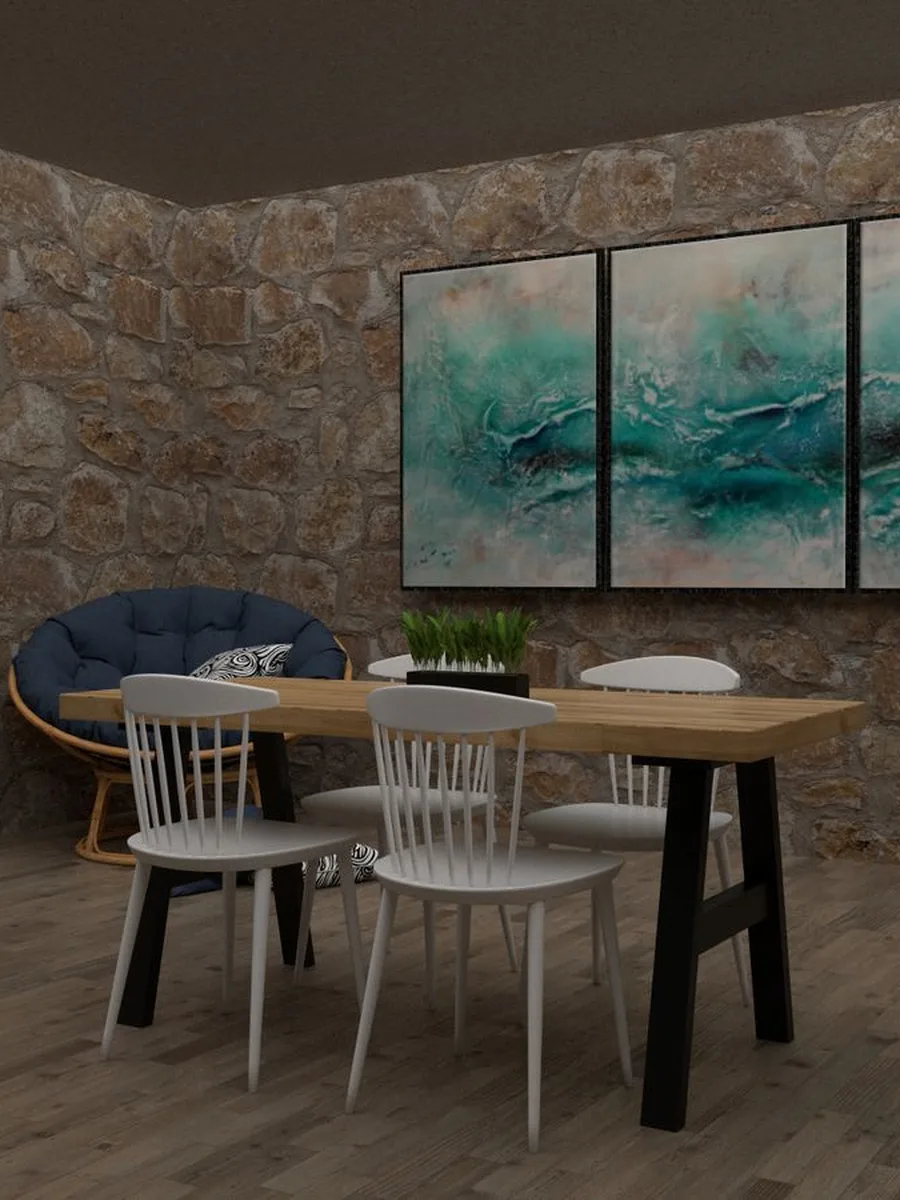
Step 2: Plan the Layout on the Floor
Never hang a gallery wall by guesswork. Arrange your pieces on the floor (or a big bed) inside a taped outline matching your wall space. Try a loose grid for calm, or an organic salon style for character — then photograph each version and compare. The photo reveals balance problems your eyes miss.
Layout planning that works:
● Tape the outline on the floor first so you design to the actual wall size.
● Keep 5–8cm gaps between frames — consistent spacing is what makes it look designed.
● Start with the anchor piece slightly off-centre, then build outward.
● Photograph from straight on and squint at it — lopsided weight shows up immediately.
● Try at least two different arrangements before committing; the second attempt is almost always better.
Step 3: Transfer the Plan to the Wall
The paper-template trick makes hanging foolproof. Trace each frame on kraft paper or newspaper, cut out the shapes, and tape them to the wall in your planned arrangement. Live with the papers for a day, adjust, then nail through the paper and tear it away. No patching, no regrets.
The template method:
● Mark the nail position on each paper template before taping it up.
● Check the whole arrangement from the doorway and from seated at the table.
● Adjust papers freely — moving tape is free, moving holes is not.
● Hang the anchor piece first, then work outward, checking level as you go.
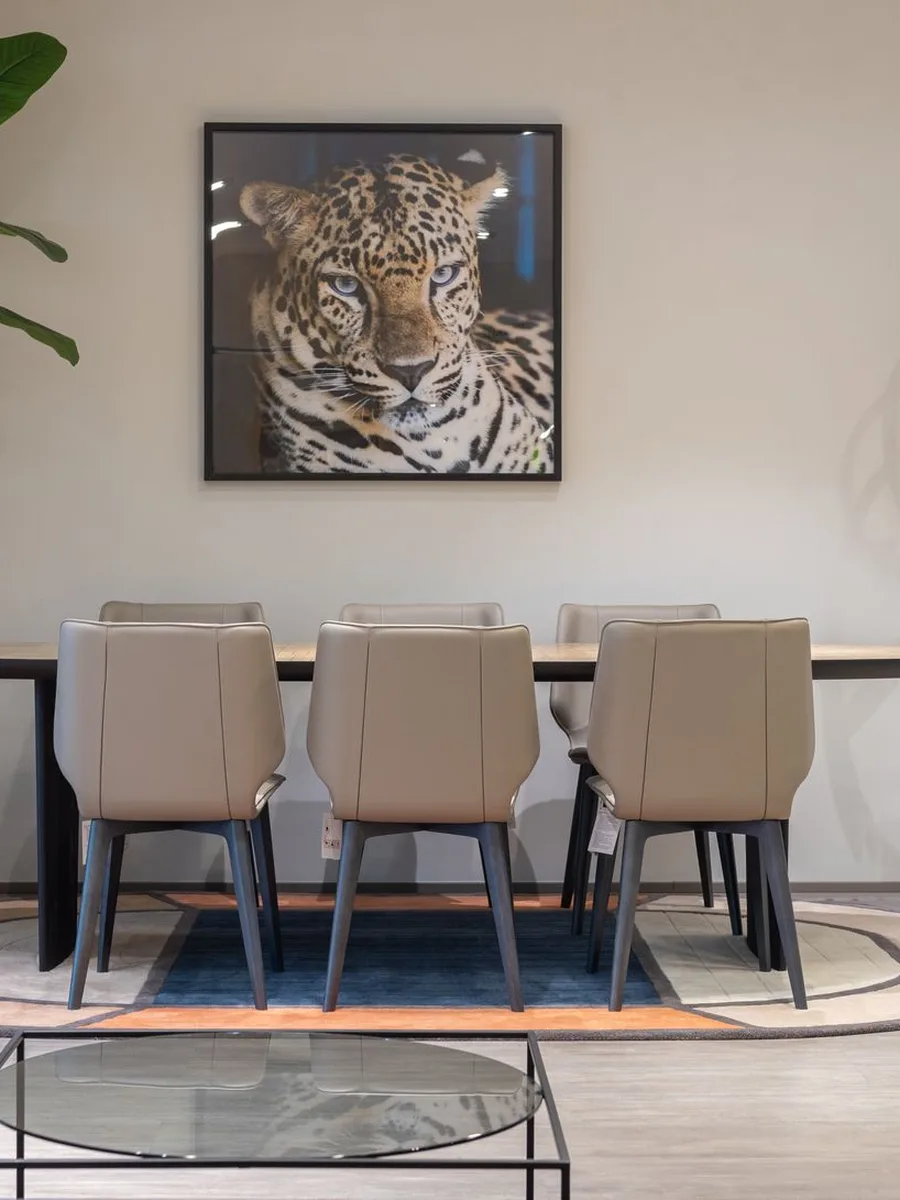
Step 4: Hang With Precision
Now the satisfying part. Hang each piece through its paper template, using proper fixings for the weight — small nails for light frames, wall anchors for heavy ones. Keep checking the gaps with a tape measure and a spirit level. Precision in the hanging is what separates stunning from slapdash.
Hanging tips:
● Use a spirit level on every single piece — one crooked frame ruins the whole wall.
● For heavy pieces, use two hooks spaced apart; they hold better and stay level.
● Step back after every three pieces to check the overall balance.
● Keep a filler and touch-up paint handy for the one hole you’ll inevitably misjudge.
● Remove the paper templates as you hang each piece so you always see the true arrangement emerging.
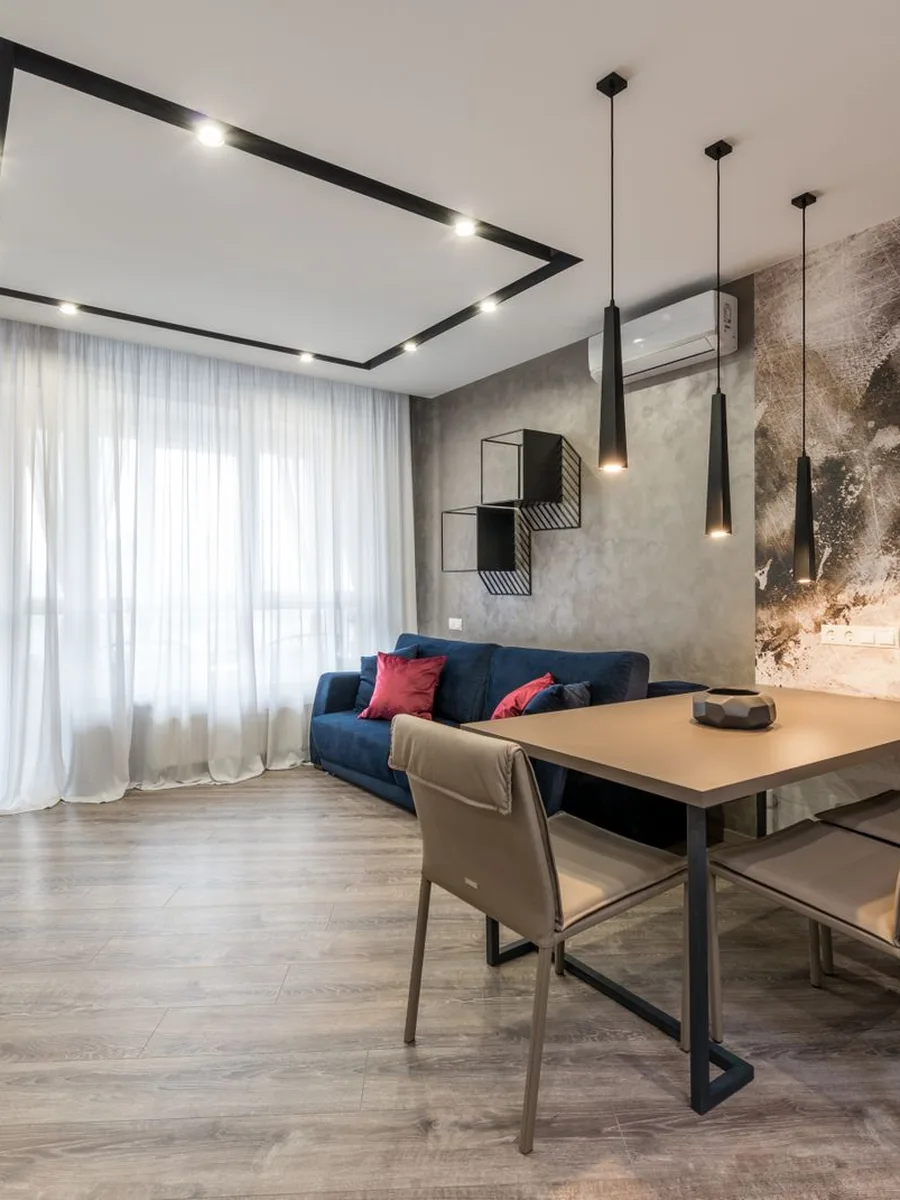
Step 5: Style the Room Around It
A gallery wall is a lot of visual energy, so the rest of the room should calm down. Keep nearby surfaces simple, echo one colour from the wall in soft furnishings, and light the wall so it glows in the evening. The gallery is the star — everything else plays supporting roles.
Finishing around the wall:
● Keep the sideboard below minimal — a vase and a candle, not a crowded display.
● A picture light or two directional spots make the wall sing after dark.
● Pull one or two colours from the art into cushions, napkins, or a runner for cohesion.
● Leave the opposite wall quiet — one feature wall per room is the rule.
● A simple bench or pair of chairs facing the wall turns it into the room’s natural gathering point.

Step 6: Maintain and Evolve
A gallery wall is never truly finished — and that’s its charm. Swap a print seasonally, add a new photo from a trip, or rotate pieces when you redecorate. Because you used the template method, you know exactly which nail fits which frame, so evolving the wall takes minutes.
Living with your gallery wall:
● Dust frames monthly — gallery walls collect dust faster than single pieces.
● Swap one or two pieces with the seasons to keep it feeling fresh.
● Photograph the final arrangement and keep it — future you will thank present you.
● If a piece stops sparking joy, replace it; a gallery wall should grow with your life.