

A Christmas “aesthetic” is simply a room where every choice looks intentional.
It is the difference between decorations placed and a vision executed — a cohesive palette, repeated motifs, styled surfaces, and light that flatters everything. The picture-perfect holiday home is not about more stuff; it is about every piece belonging to the same story.
Start by choosing your story.
Are you Scandinavian minimal (white, wood, sparse greenery), classic traditional (red, green, gold, abundant), modern glam (black, white, metallics), or rustic farmhouse (plaid, pinecones, burlap)? Once the story is set, every decision — ornaments, textiles, wrapping — filters through it. Cohesion is the whole aesthetic.
This guide gathers 25 beautiful Christmas room aesthetic ideas for a picture-perfect holiday, each shown in a real-style setting with practical tips.
From palette discipline and styled vignettes to lighting for photos and the finishing details cameras love, these ideas will make your home look like the inspiration pictures — because you will be using the same principles.

1. Commit to a Three-Colour Palette

Every aesthetic starts with palette discipline: choose three colours and let them rule everything — tree, textiles, wrapping, even the candles. Classic combos: red, green, gold. Modern: white, black, silver. Soft: blush, cream, champagne. Restriction creates the cohesion cameras love.
Write your palette down and check every purchase against it. The one time you “just grab” an off-palette ornament is the crack in the aesthetic. Discipline now, beauty all December. Photograph your palette as a flat-lay — the image becomes your shopping reference for the whole season.
2. Repeat Motifs Throughout the House
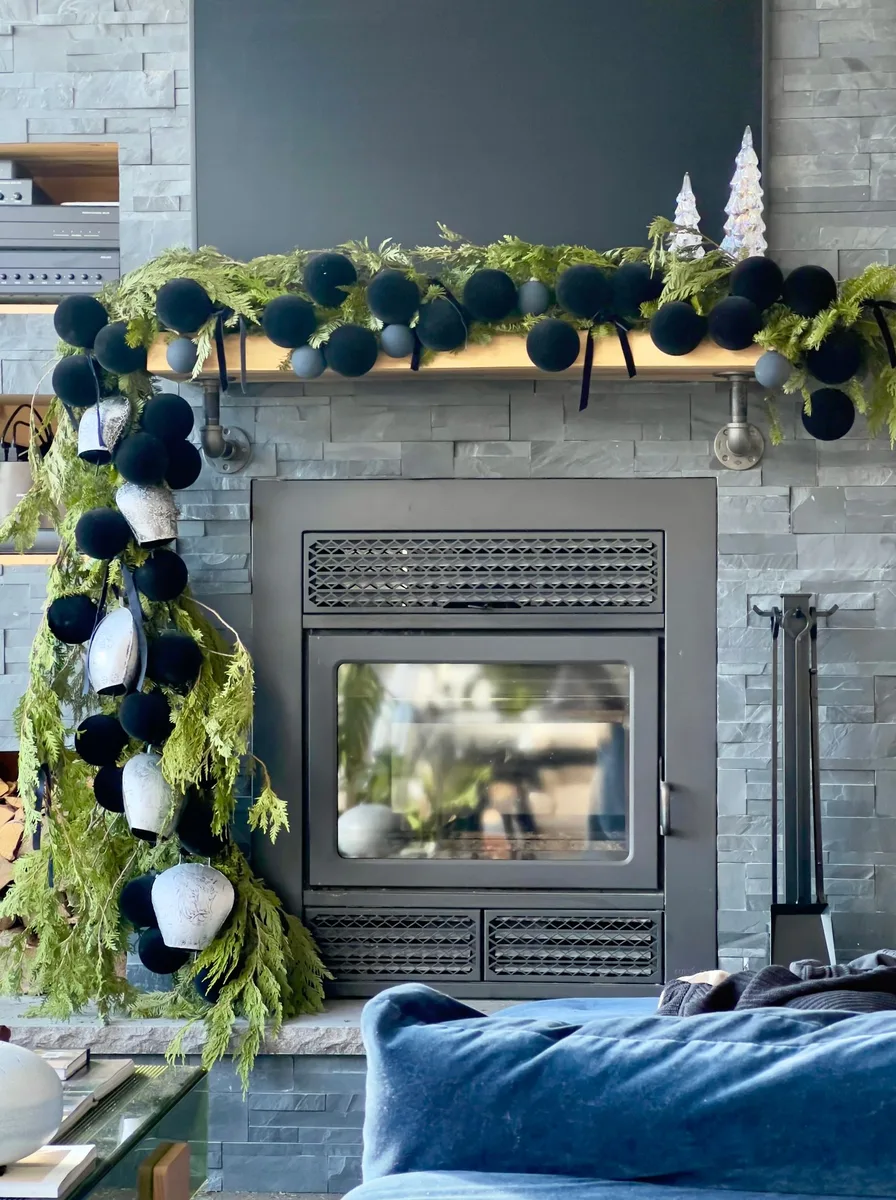
Pick two or three motifs — stars, pinecones, bells, deer — and repeat them in every room. Repetition is what makes separate decorations feel like one design. A star on the tree, stars in the window, a star garland on the mantel: suddenly it is a theme, not a collection.
Vary the scale and material of the motif to avoid monotony: a large wooden star, tiny brass stars, a star string light. Same idea, different expressions — this is how designers create rhythm. Carry the motif into gift wrapping too, and even presents under the tree reinforce the theme.
3. Style Vignettes, Not Surfaces

Think in vignettes — small composed groups — rather than decorating entire surfaces. A tray with a candle, greenery, and an ornament is a vignette; a mantel full of spaced-out singles is not. Group in odd numbers, vary heights, and leave breathing room around each composition.
Every vignette needs three elements: something tall, something textured, something glowing. Master this formula and every surface in your home becomes photographable. Step back and squint — if it reads as one shape, it works. Leave one surface in each room completely clear — the contrast makes styled areas look even more deliberate.
4. Layer Textiles Like a Designer
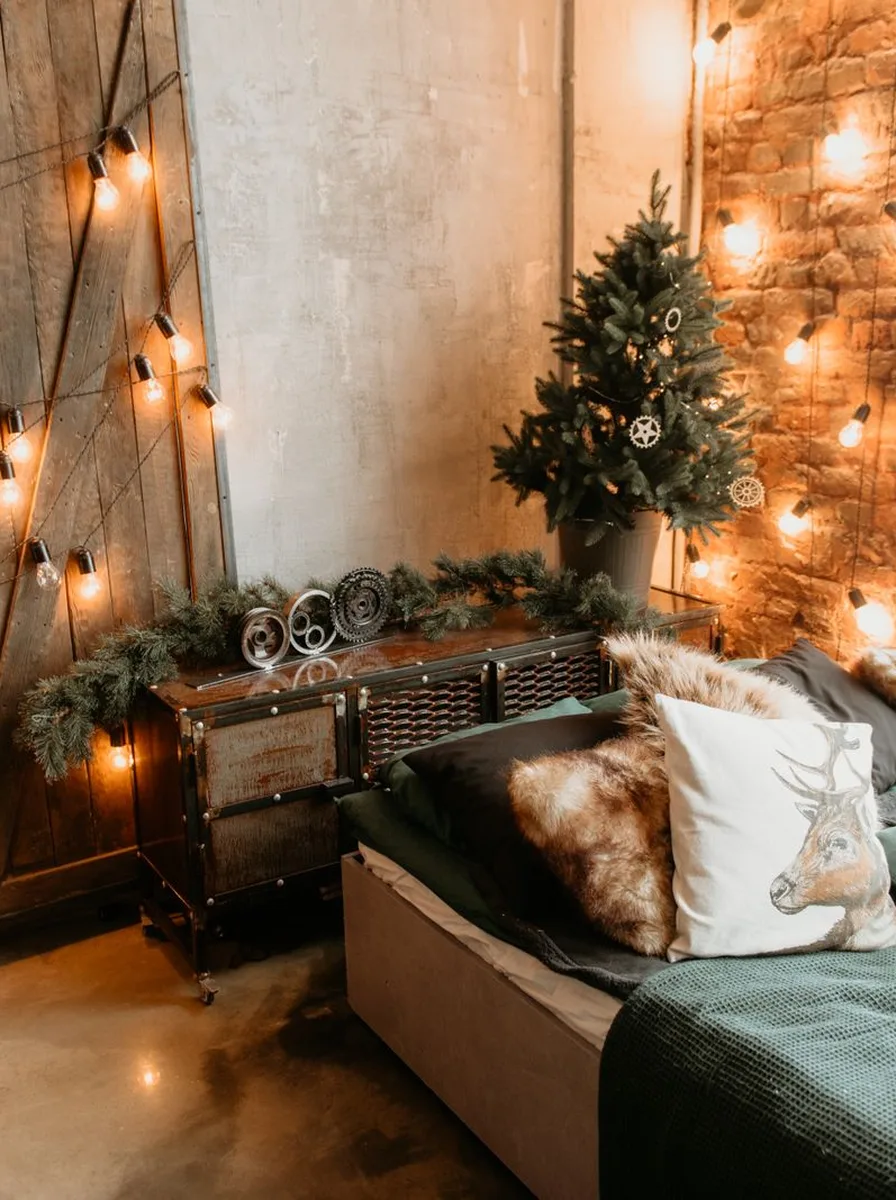
Aesthetic rooms are textile-rich: throws folded with intention, cushions in mixed textures, a rug that anchors everything. Layer cream knit over faux fur, velvet against linen — the mix of textures is what reads as luxurious in photos, even when every piece was affordable.
Keep textiles within your palette and vary only the texture. Steam or shake out throws before styling — wrinkles photograph badly. The “casually tossed” look actually takes arranging; embrace the artifice. Fold throws in thirds lengthwise before draping for the tailored look you see in magazines.
5. Light for the Camera

Picture-perfect rooms are lit for photography: warm, layered, and low. Turn off overheads, light candles and fairy lights, and let one soft lamp fill shadows. Photograph in the blue hour — that fifteen minutes after sunset — when window light and lamplight balance magically.
For phone photos, tap to focus on the brightest decoration, then swipe down slightly to deepen the mood. A little underexposure makes fairy lights glow like stars. The room already looks good; the light is what makes it photograph well. Shoot video as well as stills — fairy lights look even more magical with their gentle twinkle in motion.
6. Choose One Hero Piece Per Room
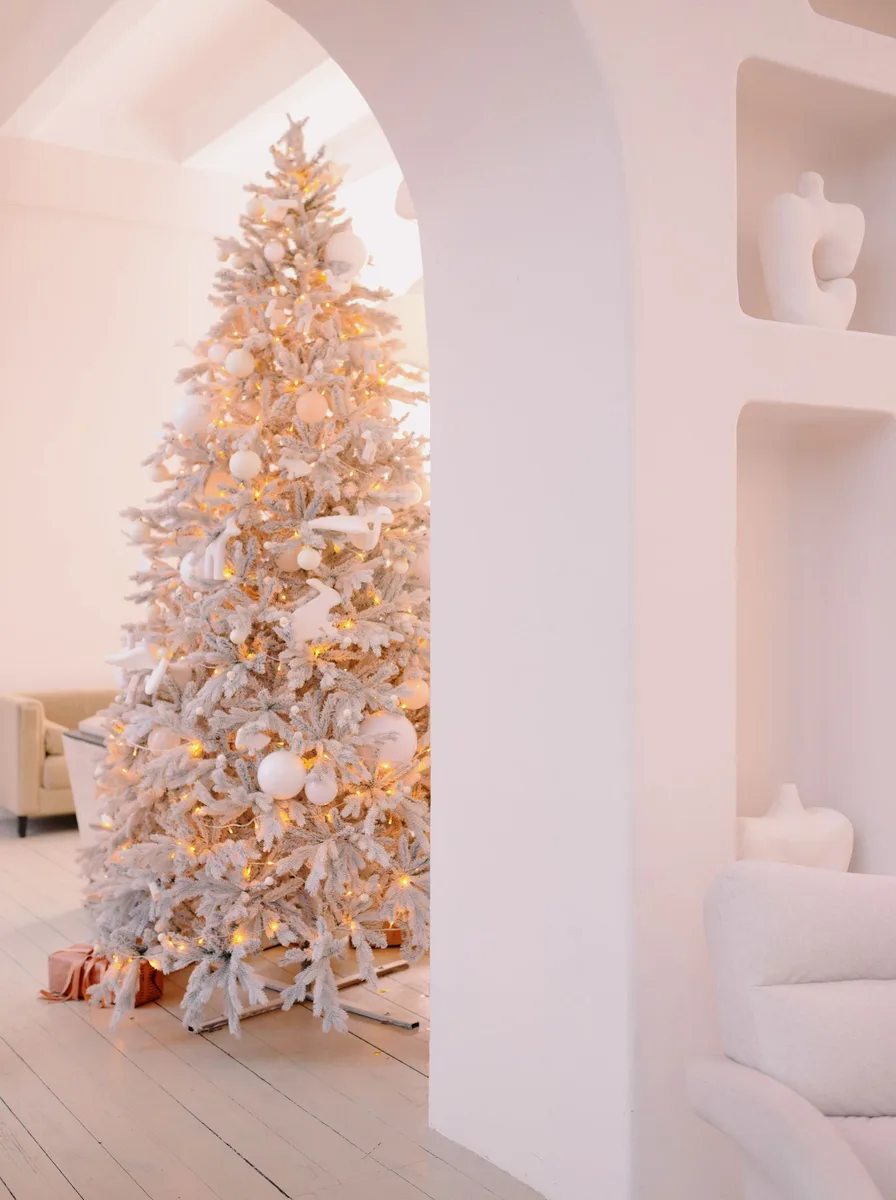
Every aesthetic room has a hero — the tree, an oversized wreath, a dramatic garland — and everything else supports it. Identify your hero first and allocate the budget and effort accordingly. A single spectacular piece plus quiet support looks more designed than ten competing mediums.
The hero should be the first thing the eye finds when entering. Clear visual competition around it — no rival focal points nearby. Hierarchy is the secret structure of every beautiful room. If two pieces compete for hero status, demote one — a room can only have a single star.
7. Embrace Negative Space
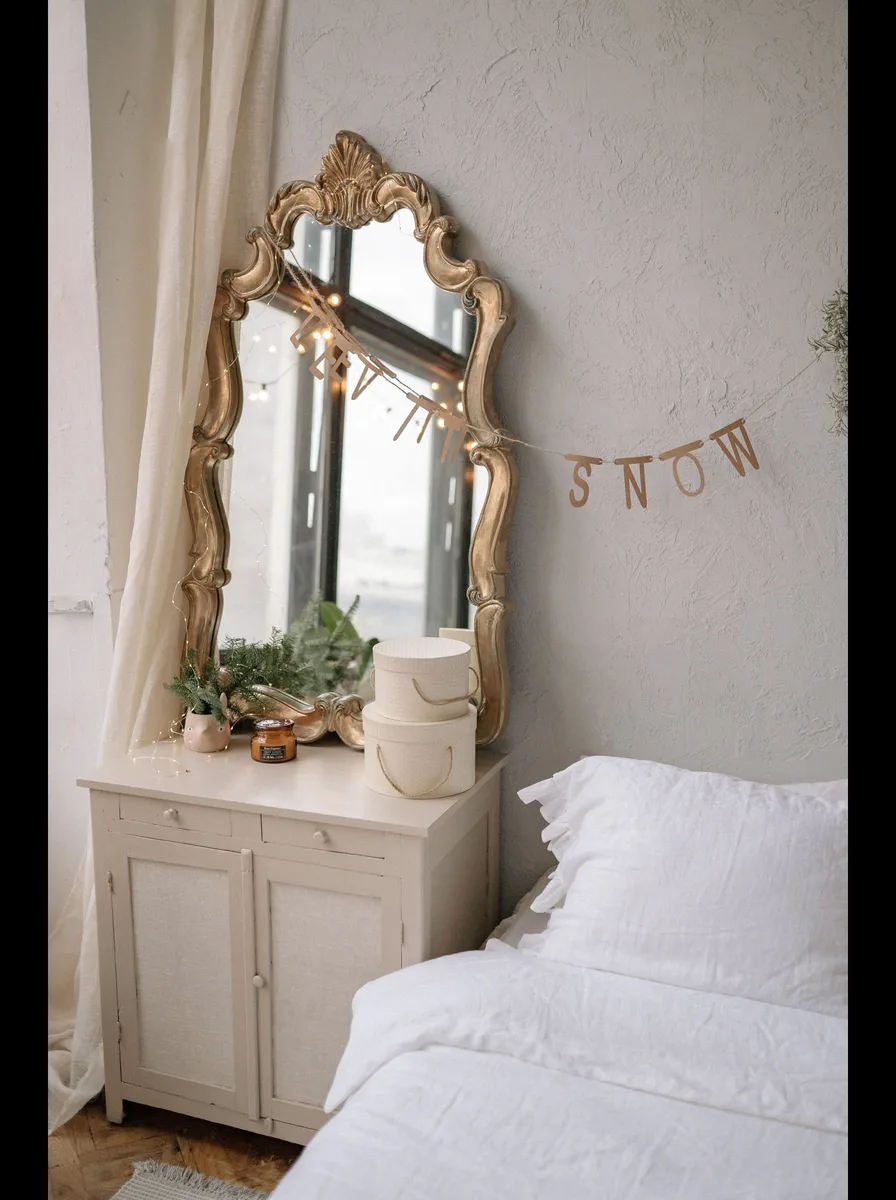
The most common aesthetic mistake is filling every surface. Beautiful rooms breathe — empty wall space, clear table corners, uncluttered shelves make the decorated parts shine brighter. Restraint photographs as confidence.
After decorating, remove one thing from every surface. This editing pass is what separates styled from stuffed. Negative space is not empty; it is the frame around your art. Squint at the room from the doorway: whatever still draws your eye is keep; the rest is noise.
8. Coordinate Your Wrapping
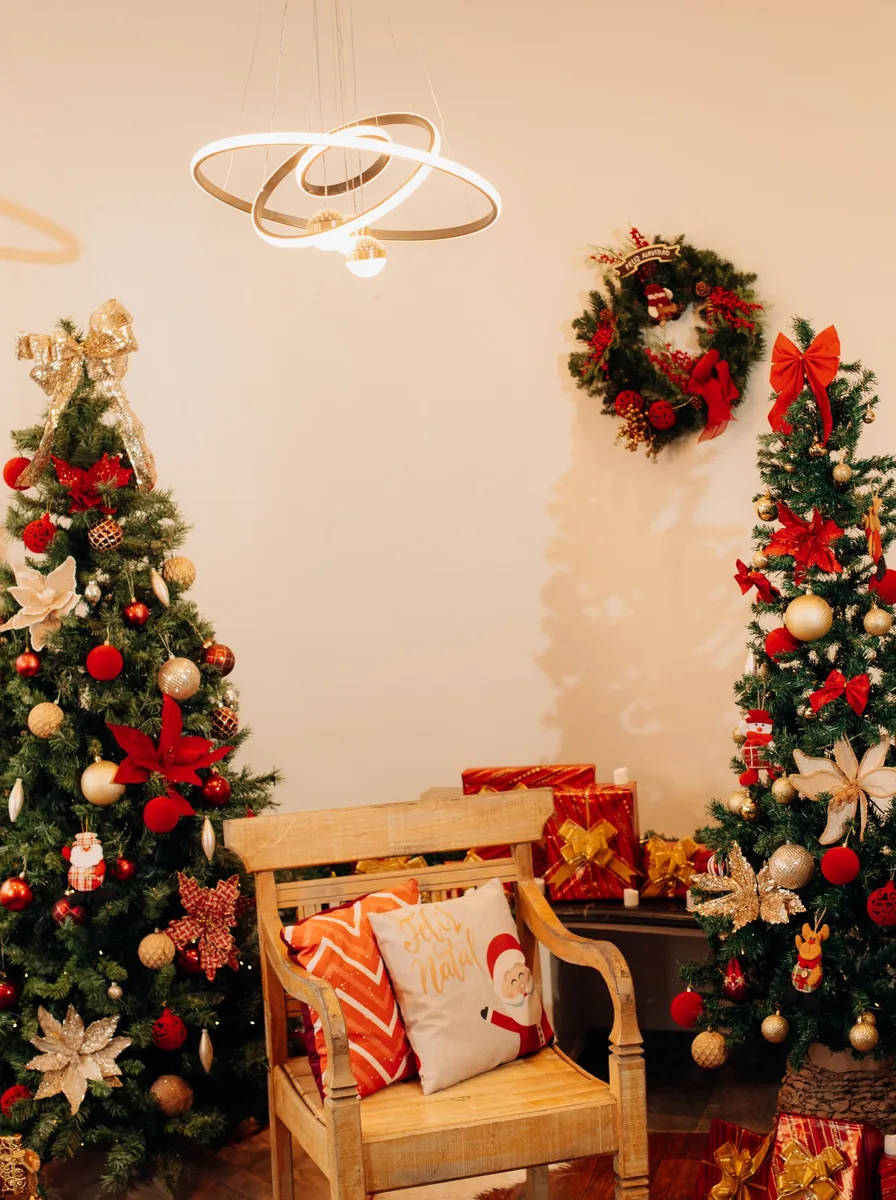
Gifts under the tree are part of the aesthetic — coordinate wrapping with your palette and the tree base becomes a designed display. Kraft paper with velvet ribbon, or white paper with greenery sprigs, looks intentional and photographs beautifully.
Wrap a few empty “display boxes” early so the tree looks finished before you are done shopping. Consistent wrapping is the cheapest high-impact aesthetic move there is. Match ribbon widths to box sizes — wide ribbon on small boxes overwhelms them.
9. Add Fresh Greenery Weekly

Picture-perfect homes look alive because something in them is. Fresh eucalyptus, pine sprigs, or a bowl of clementines — refreshed weekly — keep the room looking vital rather than staged. Cameras love the imperfection of real nature.
Keep a greenery bundle in water and do a five-minute refresh every Sunday: replace wilted sprigs, add water, fluff arrangements. Living touches are the difference between a showroom and a home. A small bud vase of fresh greenery on the nightstand extends the aesthetic into private spaces guests never see — but you do.
10. Style the Tree Base
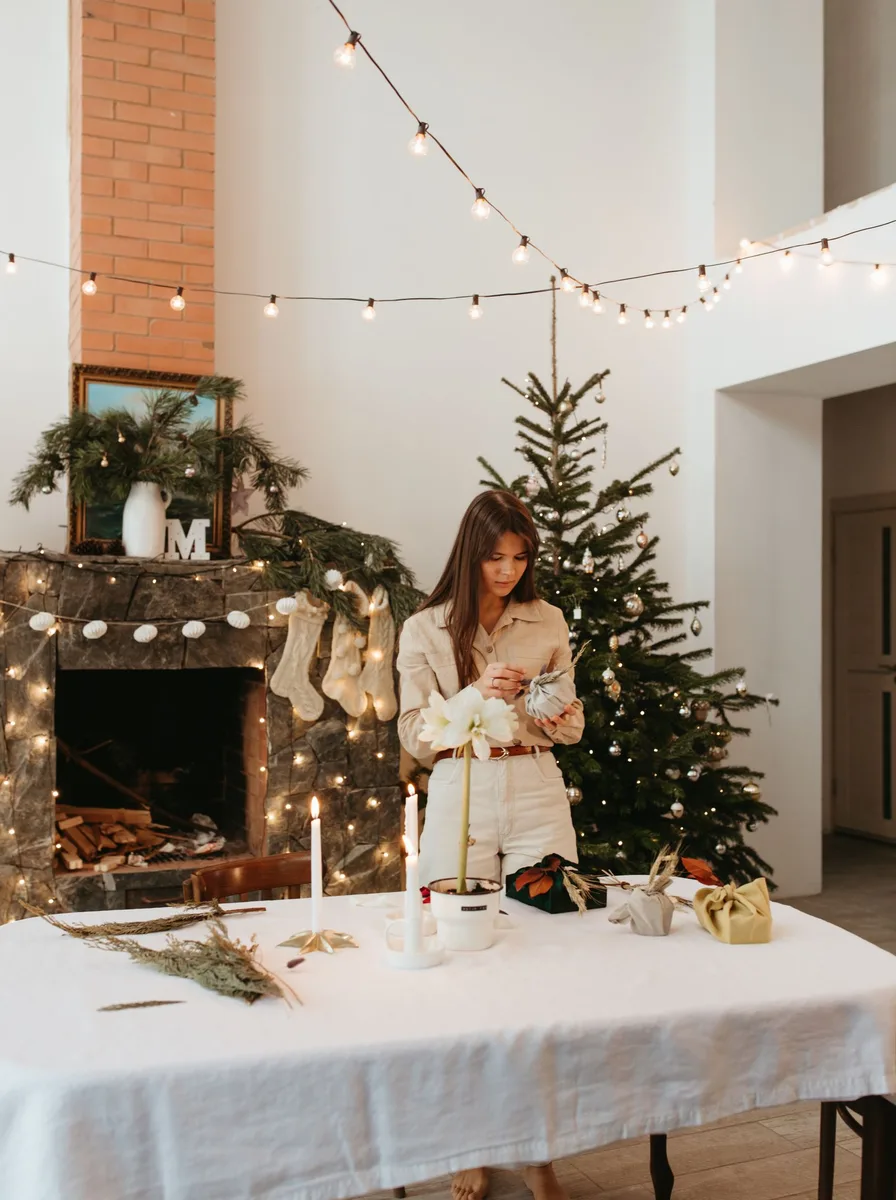
The tree base is in every photo, so style it: a beautiful collar or skirt, coordinated gifts, maybe a faux-fur throw puddled around it. A neglected tree base — visible stand, tangled cords — ruins otherwise perfect pictures.
Hide the cord with a cord cover that matches the collar. Fluff the skirt’s edge so it lies naturally. This finishing detail takes ten minutes and elevates every tree photo you take. Fluff the tree skirt outward so it reads as a deliberate design layer rather than an afterthought.
11. Use Symmetry Strategically
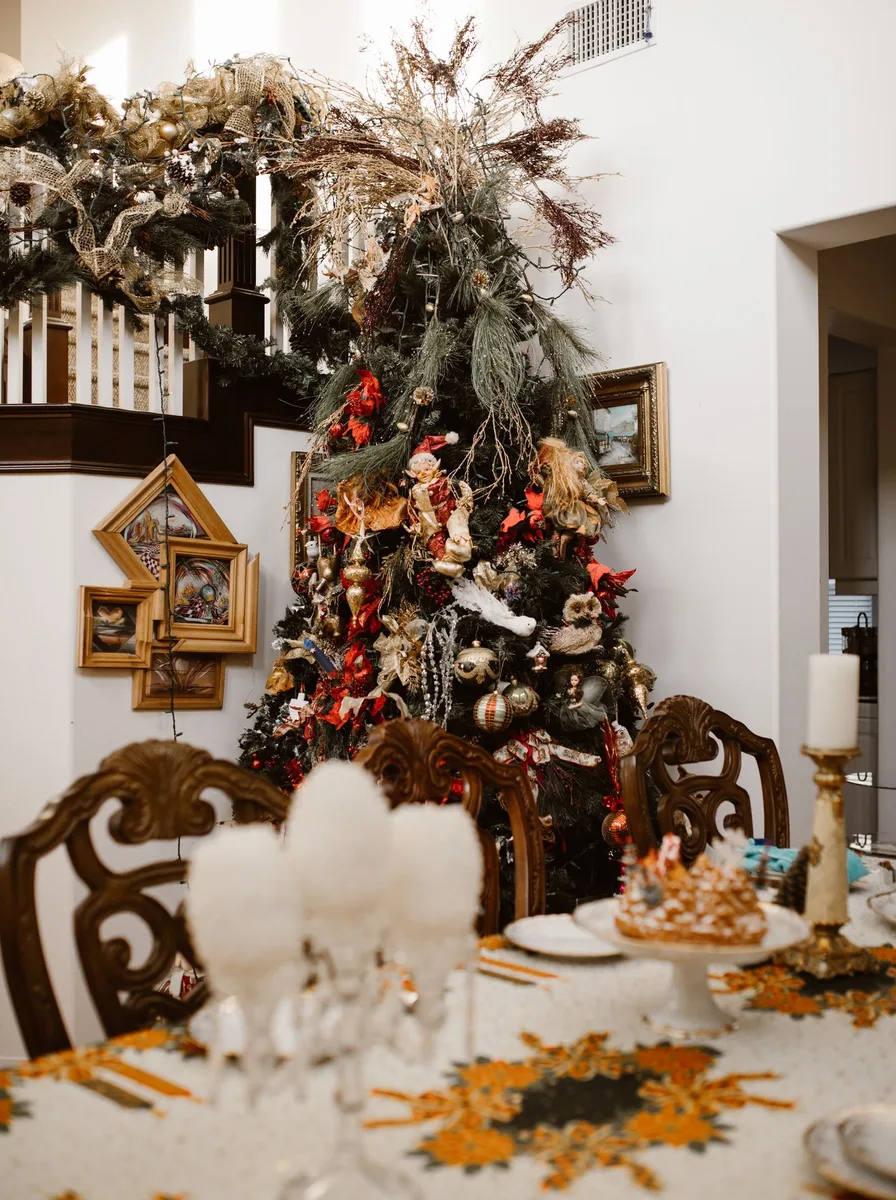
Matching pairs — two lanterns flanking the fireplace, two trees framing a doorway, two wreaths on double doors — create instant formality and photograph beautifully. Symmetry reads as intentional and grand, even with inexpensive pieces.
Use symmetry for architectural moments (fireplaces, doorways, windows) and asymmetry for styling moments (shelves, tables). This balance of formal and relaxed is the hallmark of professionally styled rooms. Symmetrical pairs photograph best from straight on — position your camera accordingly for the money shot.
12. Invest in Good Lighting Timers

An aesthetic home glows on schedule: timers that switch on tree lights, window lights, and lanterns at dusk mean the house is always photo-ready when the light is best. No more rushing to switch everything on before guests arrive.
Smart plugs let you control everything from your phone — including turning it all off from bed. Automation is invisible, but its effect on the home’s atmosphere is enormous. Set it once, enjoy it all month. Group timers by zone on one smart plug strip so a single tap controls the whole evening scene.
13. Curate Your Ornament Collection
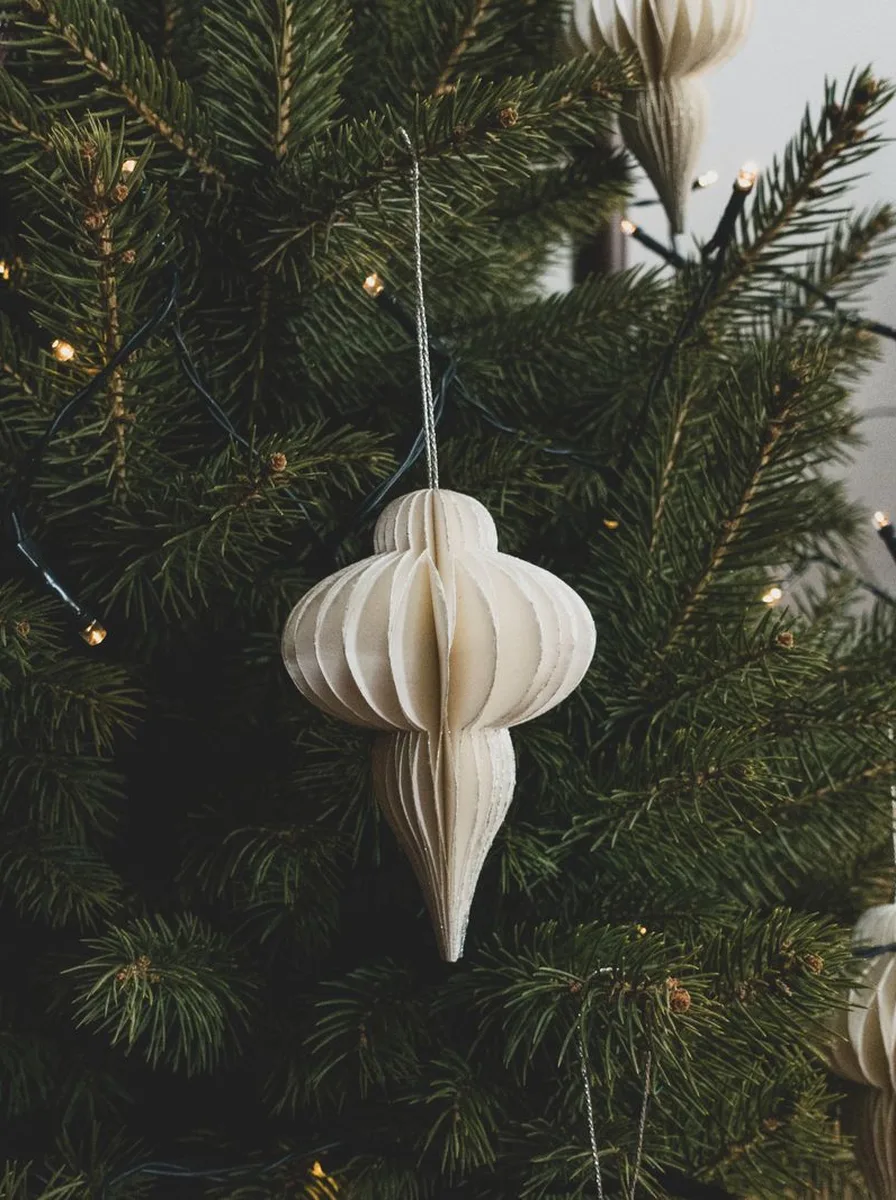
Edit ornaments like a curator: keep the ones that fit your palette and story, box the outliers for the kids’ tree or donate them. A tree of 60 cohesive ornaments looks infinitely better than 120 random ones. Curation is the aesthetic.
Each year, add a few pieces in your palette and retire a few that no longer fit. Collections evolve; aesthetics are maintained, not achieved once. Your tree should look more “you” every year. Photograph the tree each year before packing away — the archive shows your curation improving over time.
14. Add a Signature Scent

Aesthetic homes engage all senses — choose one signature Christmas scent and use it consistently: the same candle, the same simmer pot, the same pine spray. Scent memory is powerful; your home will smell like Christmas in guests’ minds for years.
Avoid scent clashes: if the tree is real and fragrant, skip competing candles nearby. One scent per zone, maximum. The invisible layer of design is often the most memorable. Place the signature scent at the entrance so it is the first thing guests experience on arrival.
15. Style Bookshelves with Intention

Bookshelves styled for the season — garland woven along two shelves, ornaments tucked between books, a string of lights — add depth and personality that bare shelves cannot. Keep most books in place; Christmas should layer over your life, not erase it.
Group shelf styling in the same palette as the tree for whole-room cohesion. A shelf styled well is a backdrop for every photo taken in the room — worth the twenty minutes it takes. Leave one shelf deliberately sparse — the breathing room makes the styled shelves look richer.
16. Choose Table Linens with Care
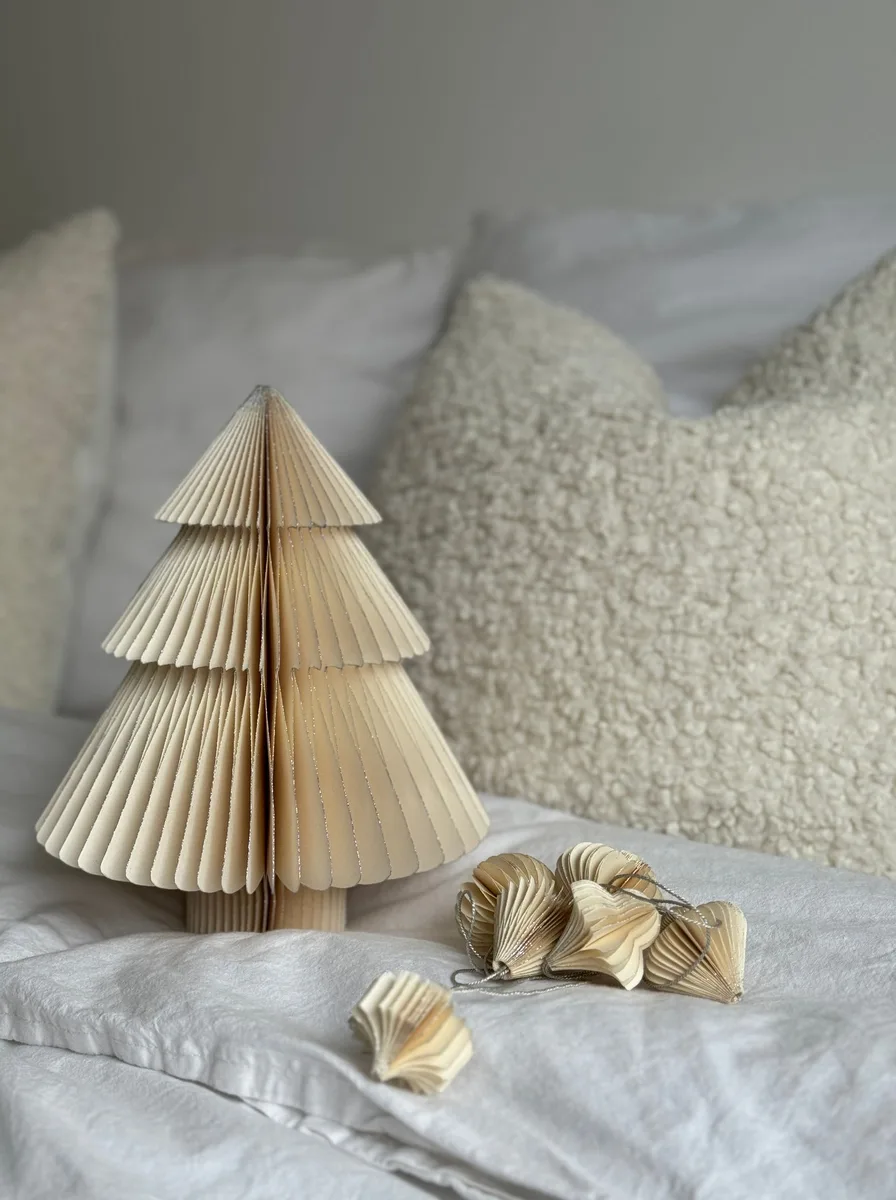
The dining table is part of the holiday aesthetic: a linen runner or cloth in your palette, cloth napkins, simple greenery down the centre. Even when not set for a meal, a dressed table makes the room look finished.
Natural linen in cream or oatmeal is the most versatile base — it works with every palette and looks effortlessly elegant. Iron or steam linens before styling; wrinkles are the enemy of the picture-perfect look. A single sprig of greenery on each folded napkin ties place settings to the room’s aesthetic instantly.
17. Create a Hot Beverage Ritual Spot
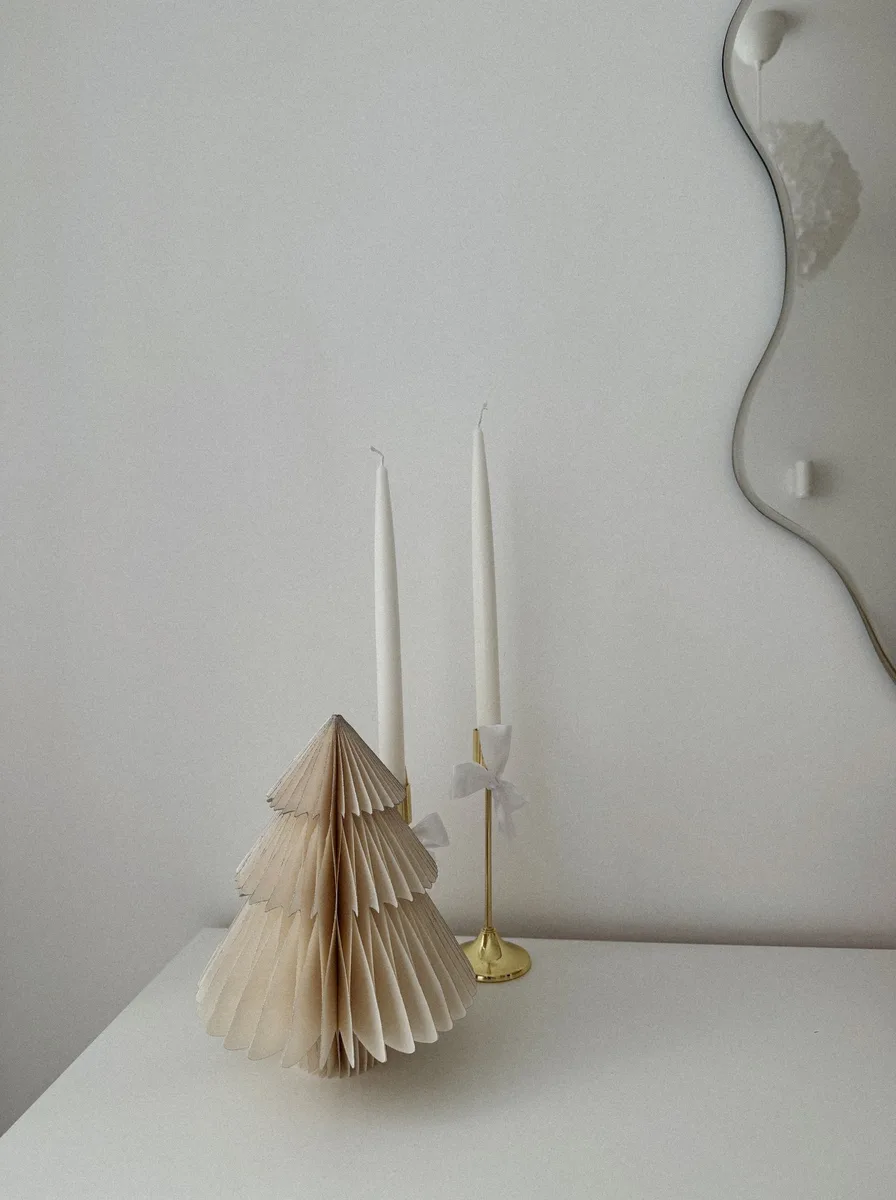
A styled cocoa or mulled-wine station — tray, beautiful mugs, jars of ingredients, greenery — is decor that photographs beautifully and gets used daily. It adds lifestyle warmth to the aesthetic: this is a home where Christmas is lived, not just displayed.
Keep the station’s palette tight and the arrangement tidy; refresh it as supplies deplete. A ritual spot gives your holiday photos a sense of story and lived joy. Keep the station’s footprint compact — a beautiful ritual spot should never obstruct the kitchen workflow.
18. Mind the Details Cameras Catch
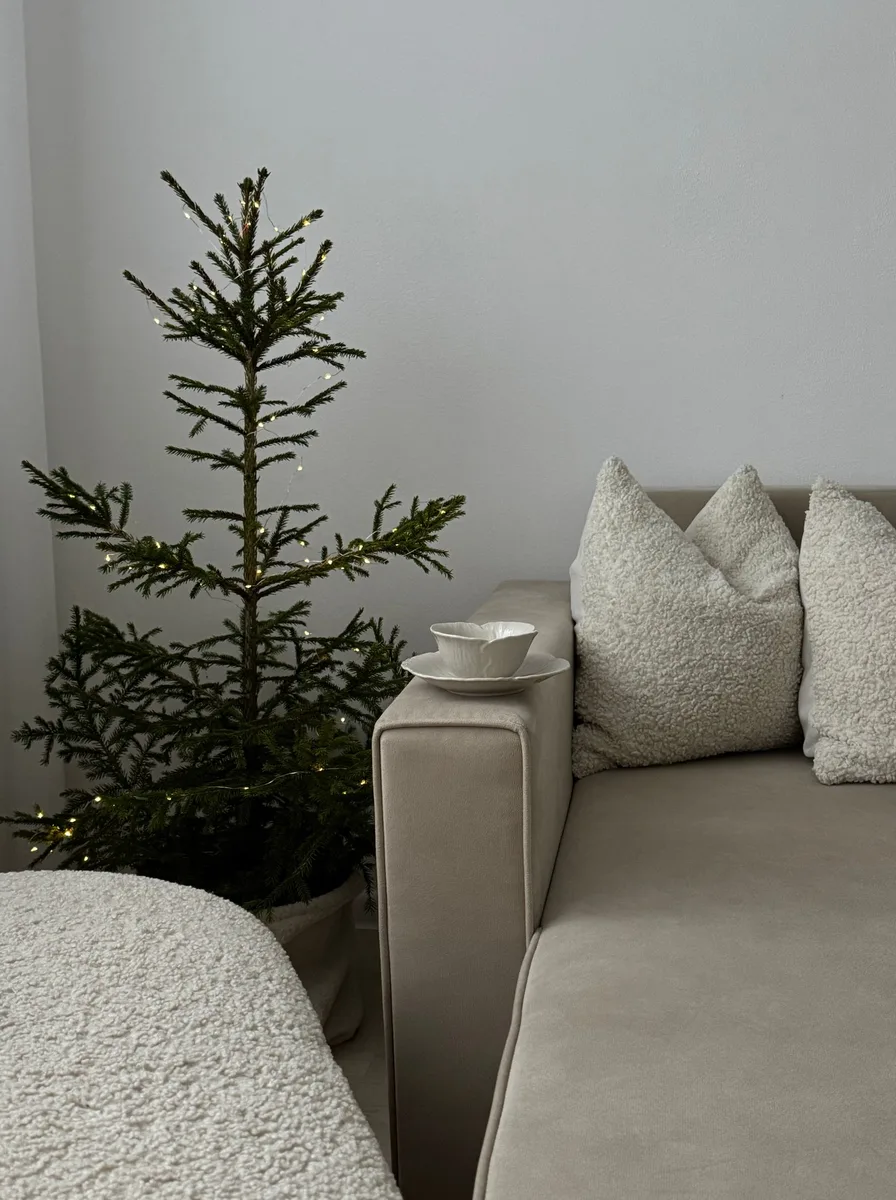
Cameras magnify details: dusty surfaces, tangled cords, wilted greenery, crooked frames. Do a “camera walk” — photograph each styled area and fix what the photos reveal. What the eye forgives, the lens does not.
Hide cords with covers, dust before big photo moments, straighten frames. These micro-edits take minutes and are the difference between a nice room and a picture-perfect one. Check reflections in mirrors and glass — cameras catch smudges the eye ignores.
19. Layer Window Treatments
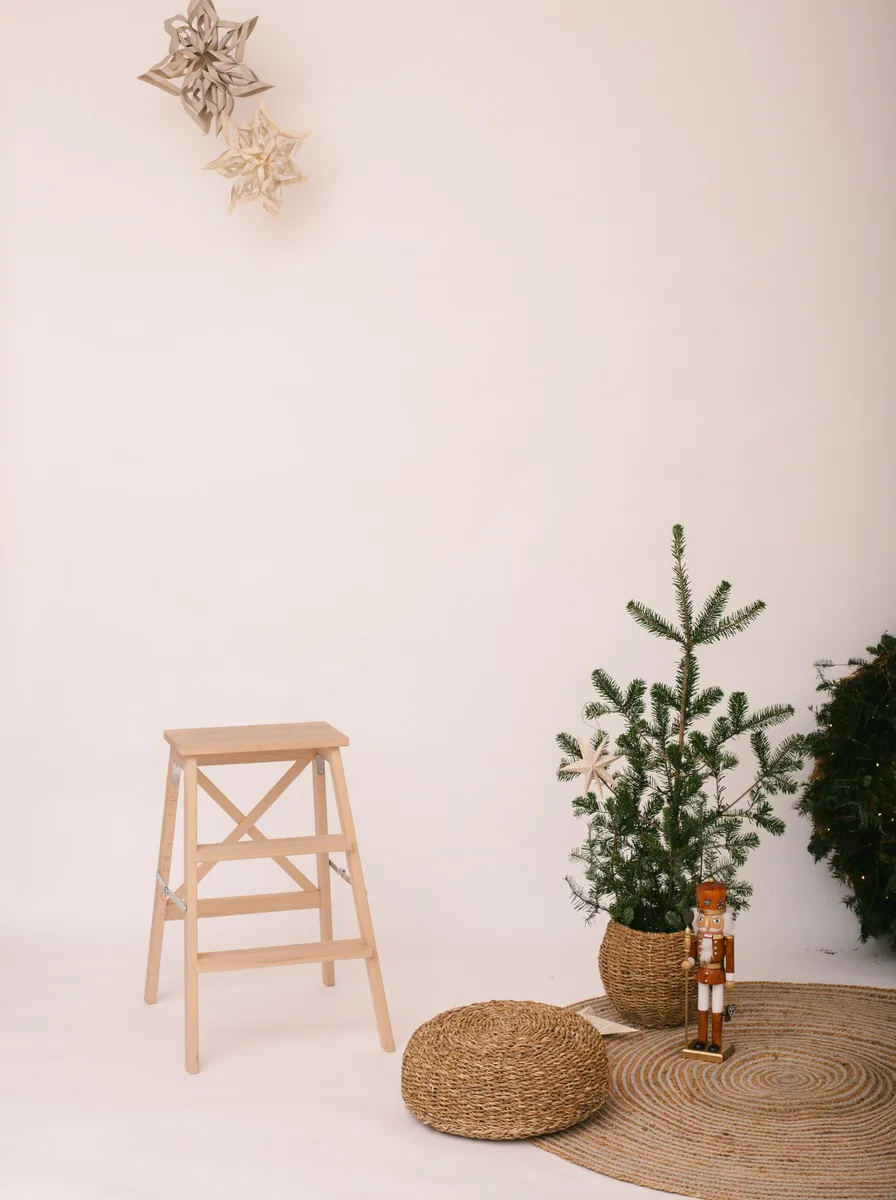
Windows dressed for the season — curtain lights plus sheers, or a garland on the rod — frame the winter dark like art and make every evening photo glow. The window is often the backdrop of room photos; make it beautiful.
Sheers diffuse fairy lights into a soft haze that photographs like magic. Keep windows clean — smudges show in backlit photos. A well-dressed window elevates the entire room’s aesthetic. Close curtains slightly behind curtain lights to diffuse the glow into the soft haze cameras love.
20. Add One Unexpected Element
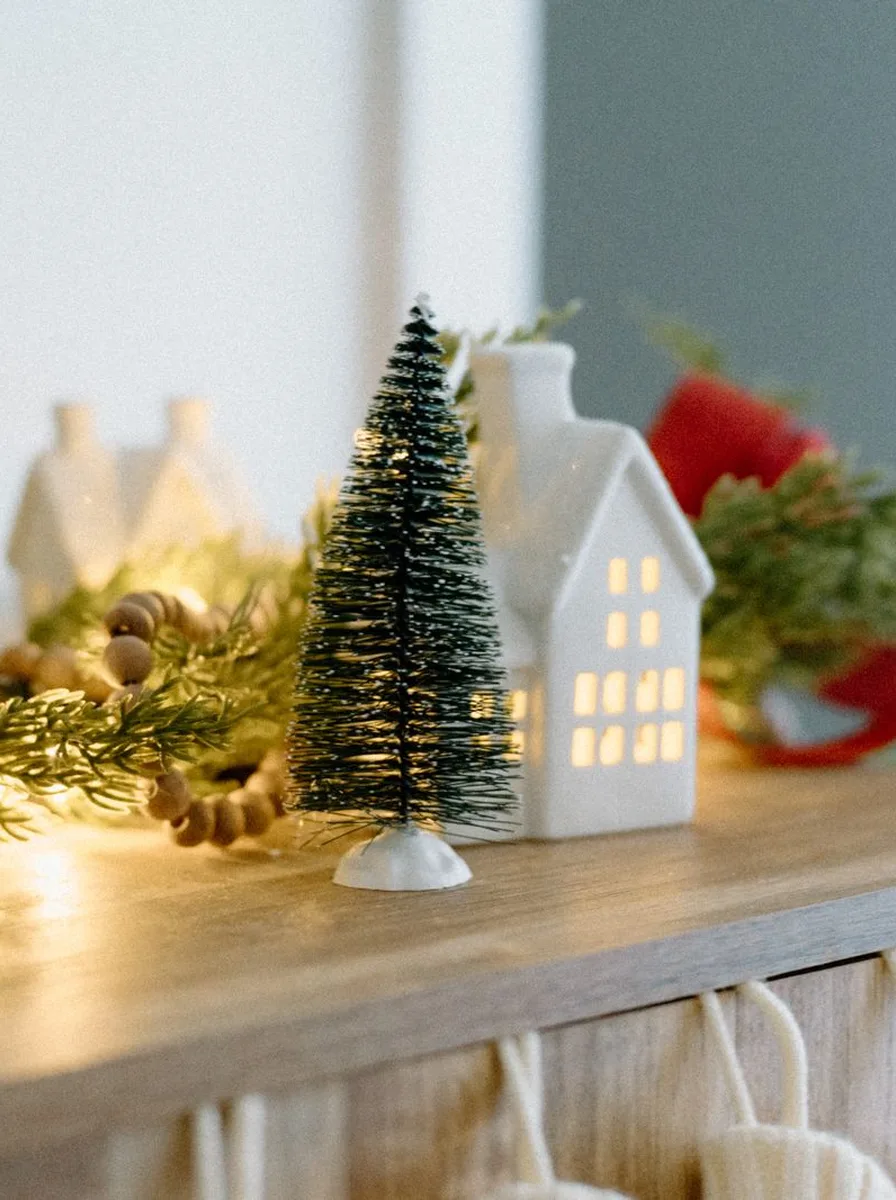
Every memorable aesthetic has one surprising note: a disco ball among the ornaments, dried flowers in the garland, a non-traditional tree colour. The unexpected element is what makes the look yours rather than a catalogue copy.
One surprise only — two becomes chaos. Make it personal: the thing that makes guests smile and ask about it. Personality is the ultimate aesthetic; perfection without it is just pretty. Introduce the unexpected element early in the season so it feels intentional, not like an afterthought.
21. Keep Surfaces Dust-Free and Polished

Shine reads as luxury in photos: polished wood, gleaming glass, dust-free surfaces reflect light and look expensive. A quick weekly polish of key surfaces keeps the whole home looking freshly styled all month.
Focus on what cameras see: coffee tables, mantels, sideboards. Microfibre cloths and ten minutes a week maintain the glow. Cleanliness is the invisible foundation of every beautiful interior photo. Polish glass ornaments with a microfibre cloth before hanging — dust dulls their sparkle in photos.
22. Use Real Candles Where It Counts

Real flame photographs differently — the flicker, the warm pool of light, the living quality. Use real candles in the key photo spots (dining table, coffee table vignette) and flameless everywhere else. The camera will find the real ones.
Safety always: never leave real candles unattended, keep them from greenery. Light them for the photo moment and the dinner hour, then switch to flameless. The glow in your pictures will be worth the vigilance. Trim candle wicks to 5mm before lighting for the cleanest flame and the most photogenic glow.
23. Create Depth with Layered Lighting
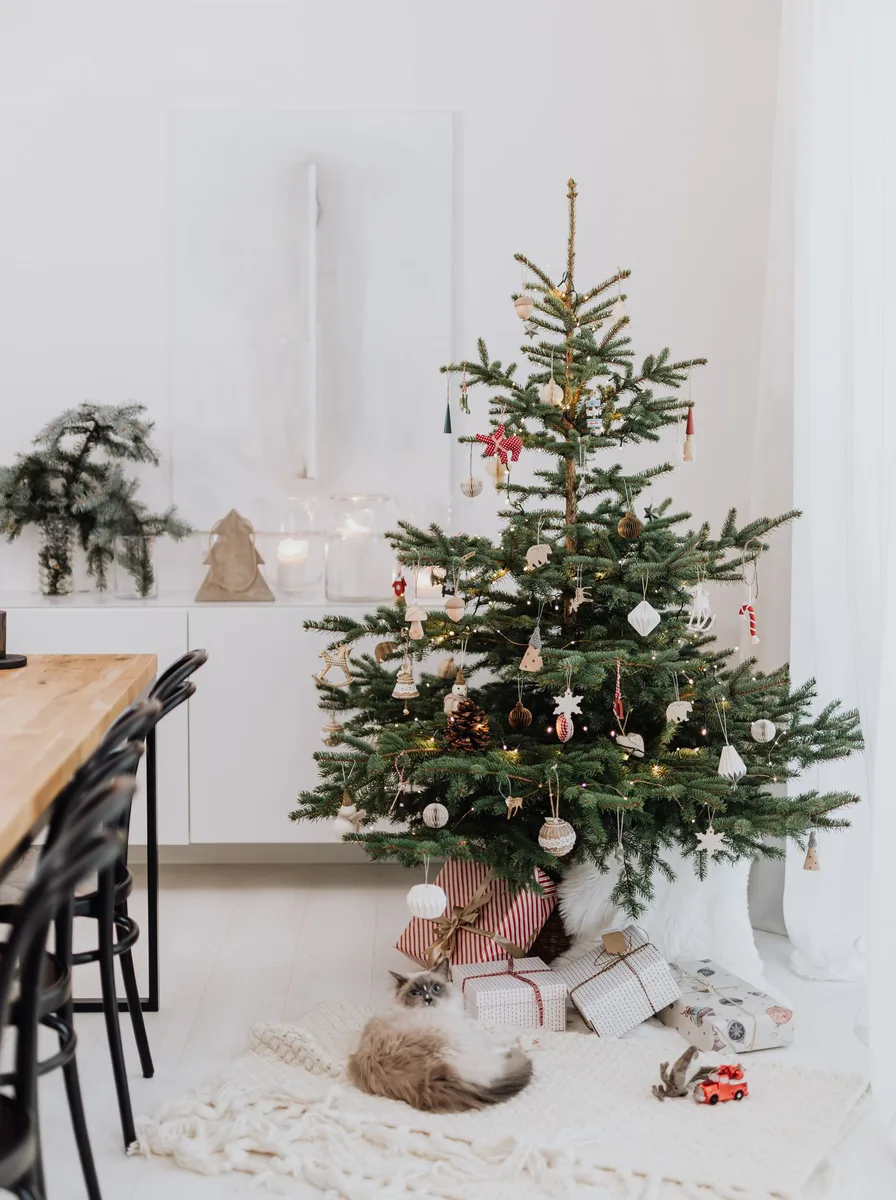
Picture-perfect rooms glow from multiple depths: tree lights deep in the branches, mid-level lamps and candles, fairy lights up high. This layered depth is what makes professional interiors look three-dimensional in photos. Single-source rooms photograph flat.
Check your layers at dusk: can you see light at low, middle, and high points? Fill any dark zone. Depth of light is depth of beauty — in person and on camera. Add one light source behind the camera position too — front fill prevents harsh shadows in portraits.
24. Photograph and Refine

The designer’s secret weapon is the camera itself: photograph each room, study the images, adjust, repeat. Photos reveal imbalances, clutter, and dead spots that eyes miss. Two or three refinement rounds transform a nice room into a stunning one.
Do this at the same time of day you will photograph most — usually dusk. Compare before-and-after shots; the improvement will thrill you. Iteration is the real path to picture-perfect. Compare this year’s refinement photos with last year’s to see your eye improving — it is motivating.
25. Let It Be Lived In

The final aesthetic secret: the most beautiful holiday photos show life — a mug left on the table, a blanket mid-drape, gifts half-wrapped. Perfection feels cold; lived-in warmth feels like Christmas. Style beautifully, then let the house be used.
Take the “perfect” photos early in the season, then relax into the beautiful mess of a celebrated Christmas. The aesthetic was the scaffolding; the memories are the building. Both matter — in that order. The best ‘lived-in’ photos happen naturally — keep the camera handy during the actual celebrations.
A picture-perfect holiday is not about spending more — it is about choosing with intention. Commit to a palette, repeat your motifs, style in vignettes, light for the camera, and edit ruthlessly. Do that, and your home will not just look like the inspiration pictures; it will feel like the Christmas you always imagined.